Showing posts with label tutorial. Show all posts

Monday, 5 March 2012

To Infinity and Beyond - very easy Buzz Lightyear costume tutorial

Remember the Space Week(s) I did with my kids? In November? We didn't leave the topic yet. We visited the Planetarium and the observatory we crafted and studied and read and did science projects and we're only now moving on to our next topic... I'll post about it soon, promise :-)
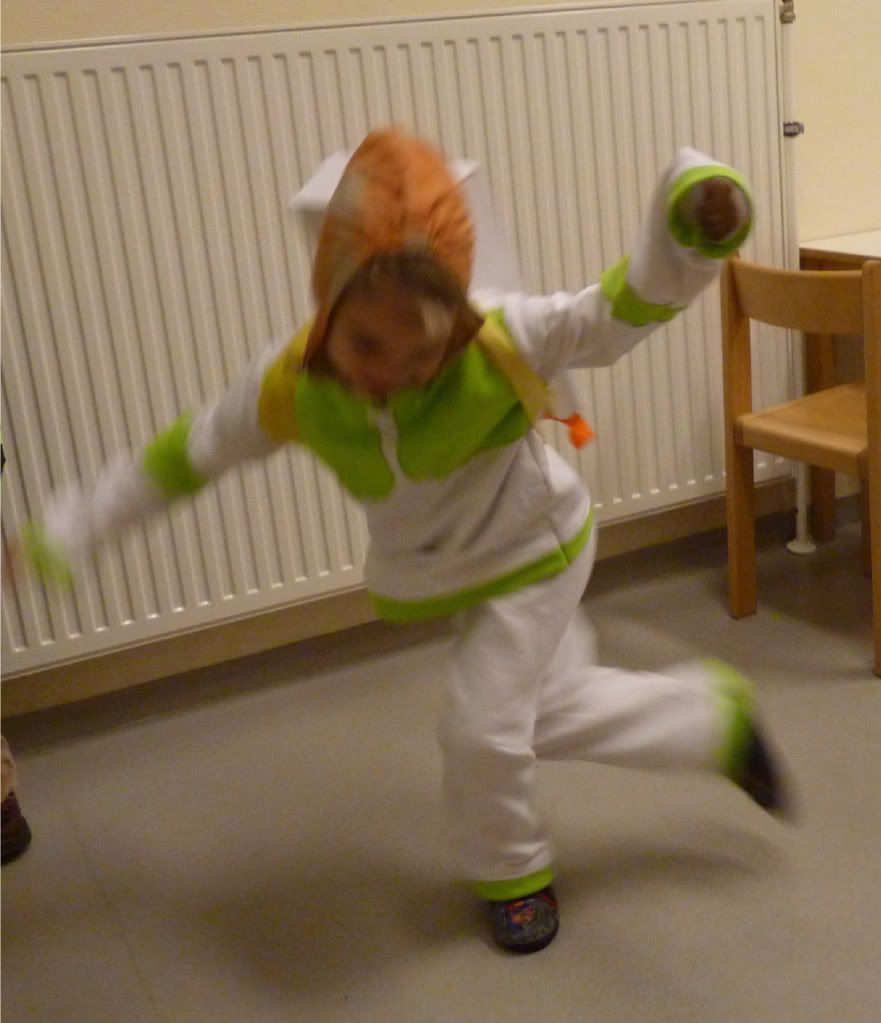
Well, with all that space stuff going on, it was really easy to pick a costume for my son for the "fat tuesday" party in his kindergarden - ASTRONAUT! And it's a costume without weapons, so the teacher was happy, too...
It's not a complete Buzz replica, I wanted to make something he could wear on other occasions, too.
Here is what I did:

I used a sweat shirt fabric in white and bright green :-)


I folded a pair of Mr. Turtles pants and traced them onto the white fabric
I did the same thing with a long sleeved shirt - traced half the shirt front on the folded fabric, then the arms. The back is the same as the front, the neckline is a little higher.
I made the whole thing a little bigger to create that space suit look
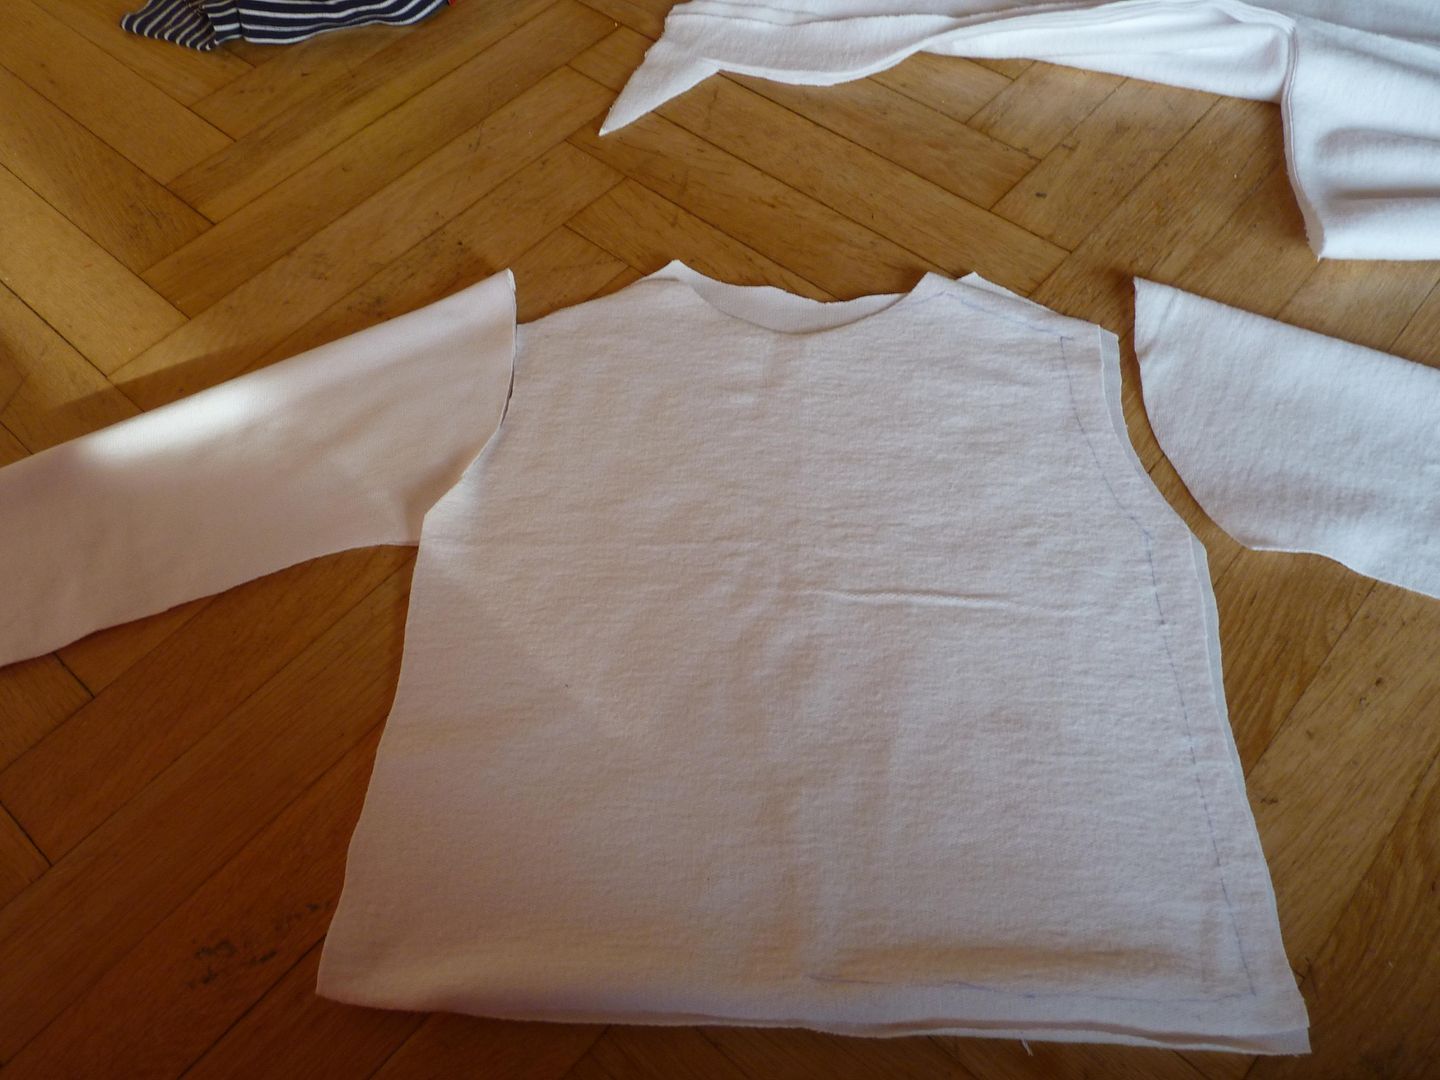


I layed out all of my pieces to make sure I didn't forget anything and started on the green accents.
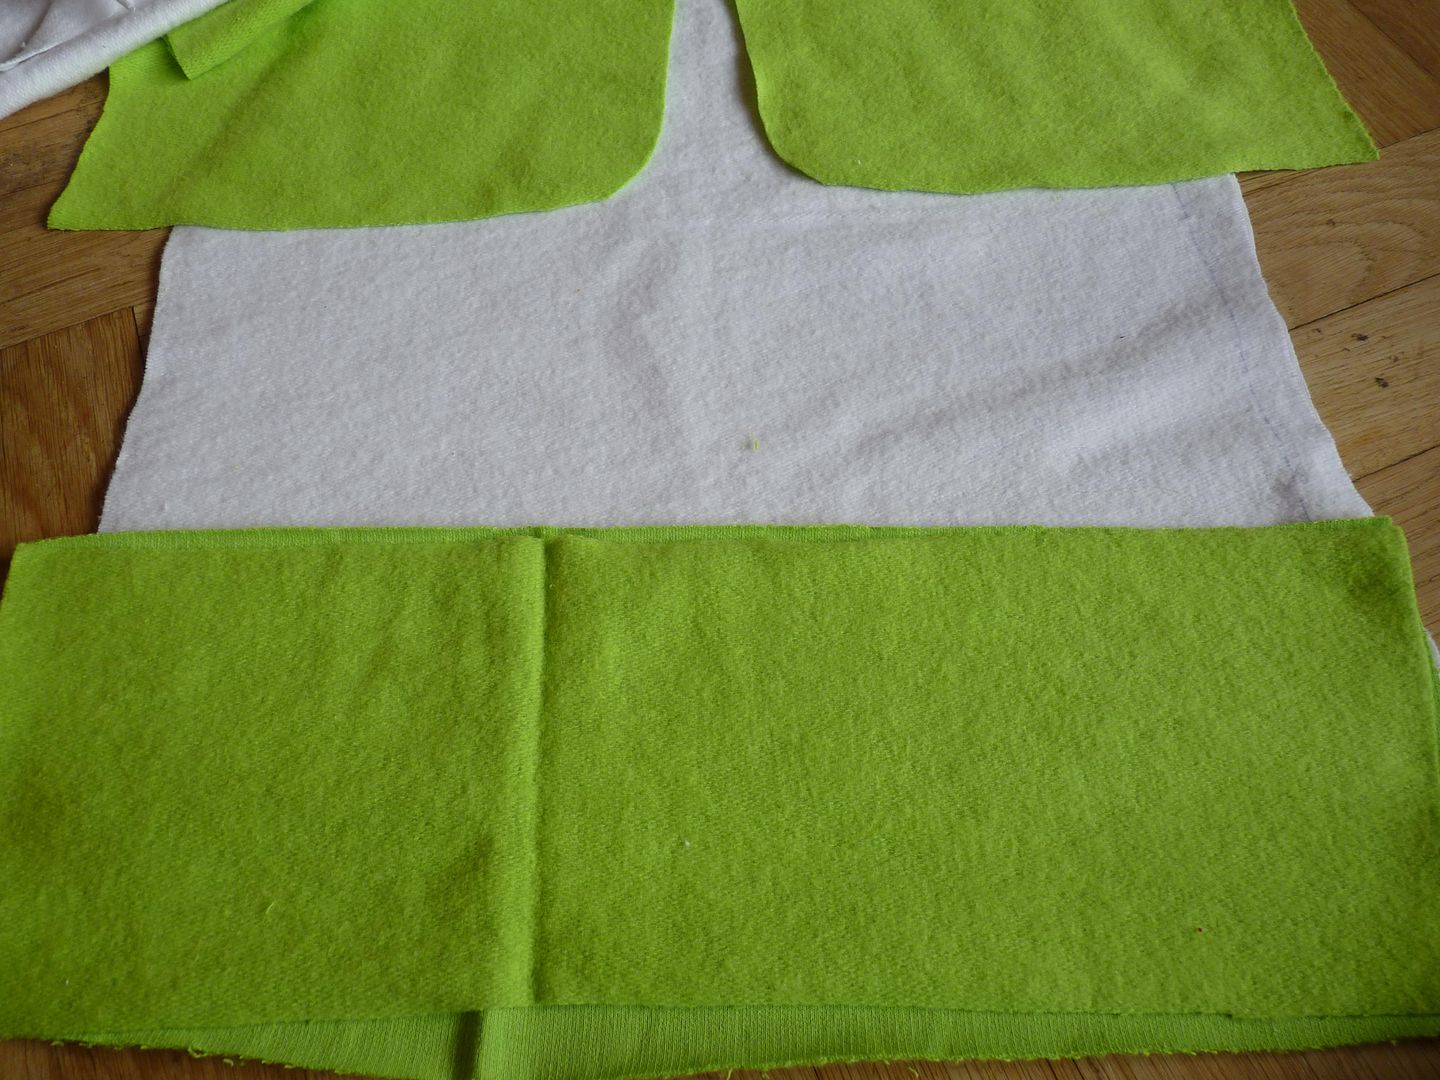


The front of the shirt gets two green "breastplates". I simply eyeballed the size and cut a nice curve - the only thing that matters at this point is that the middle part (= the curve) looks nice. It is totally fine if  the pieces are too big.
The front also gets a green border on the bottom.
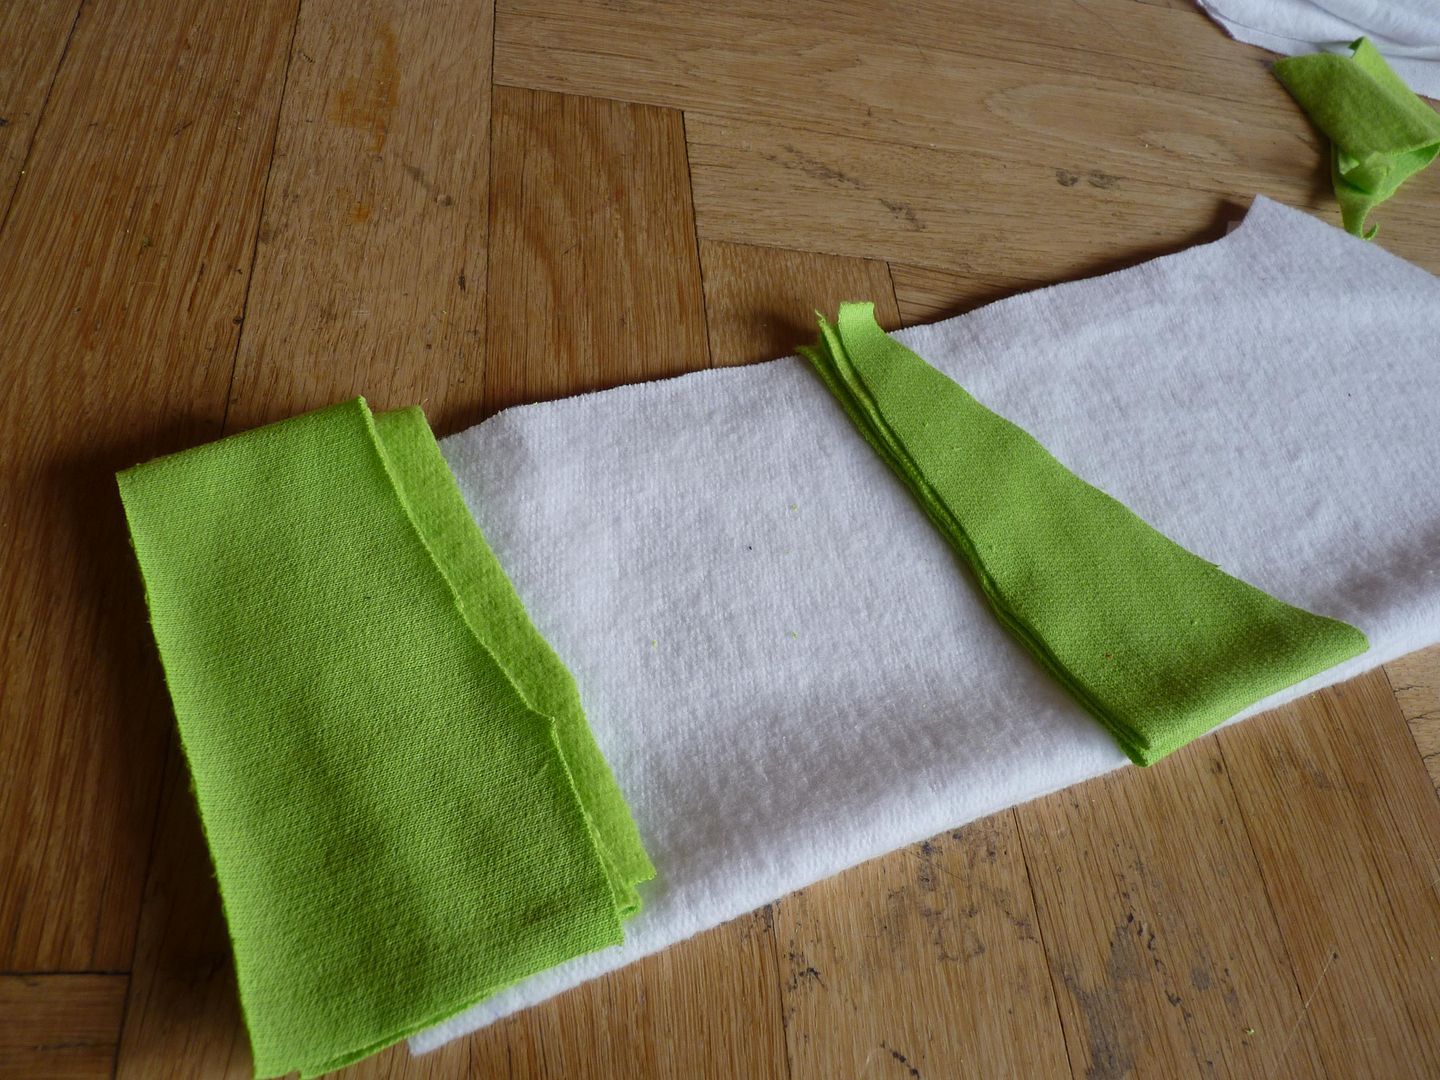


The sleeves get a little accent at the ellbow (eyeballed it again) and also a green border.
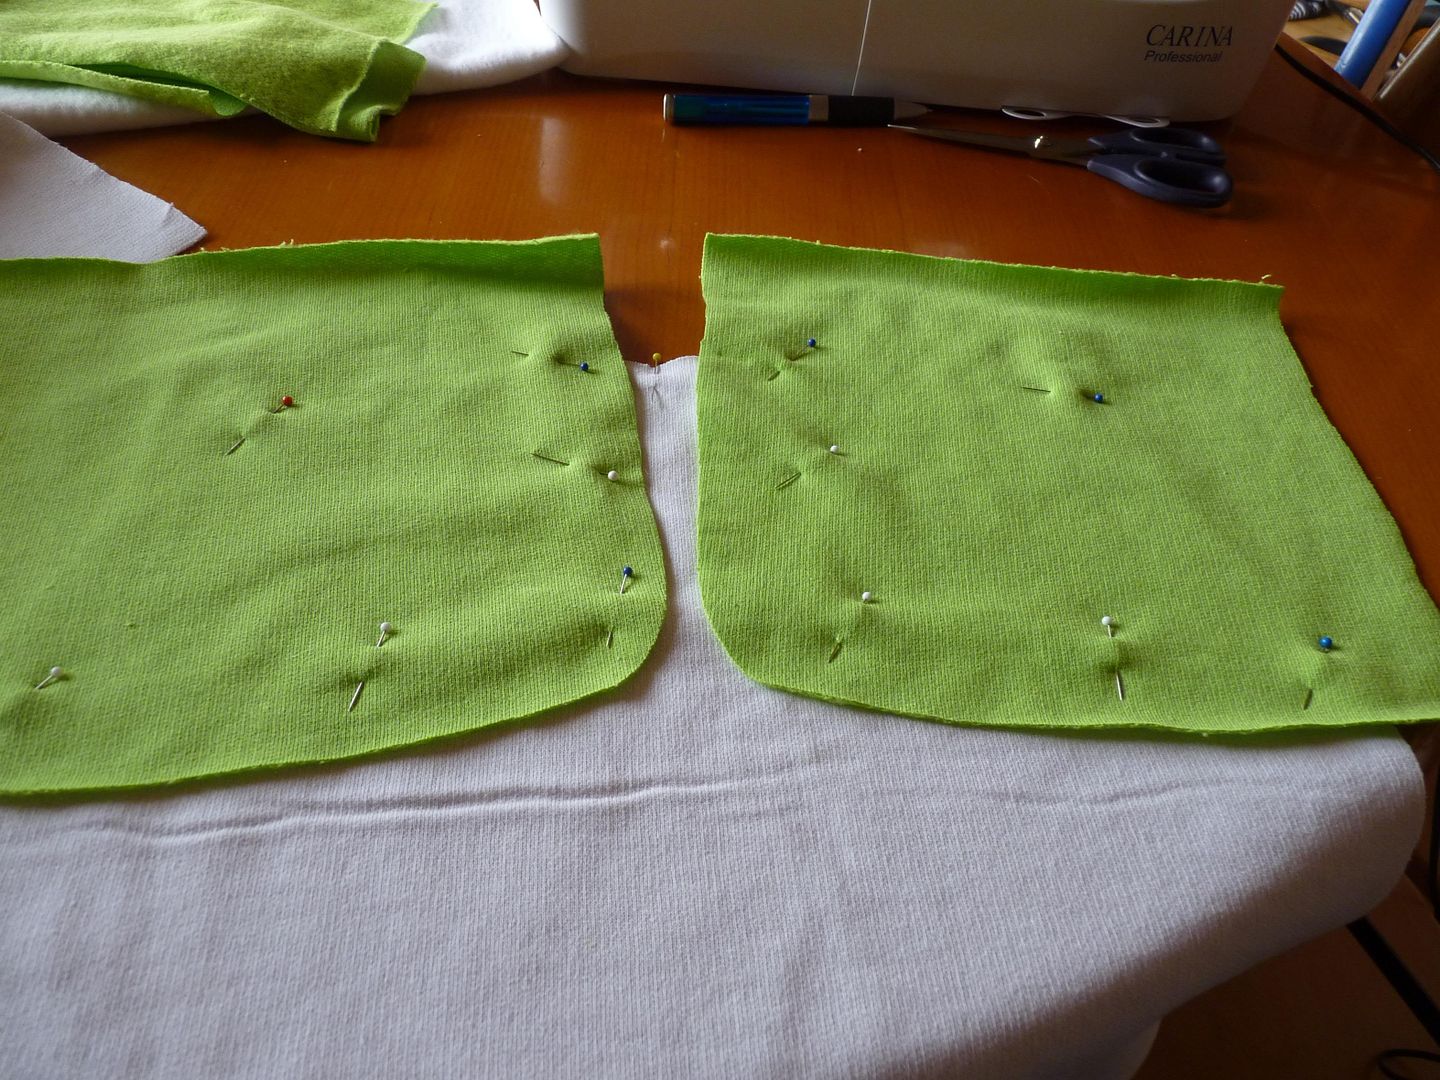


pin everything in place - you could fuse them together, I simply had no mistyfuse or anything at home :-)
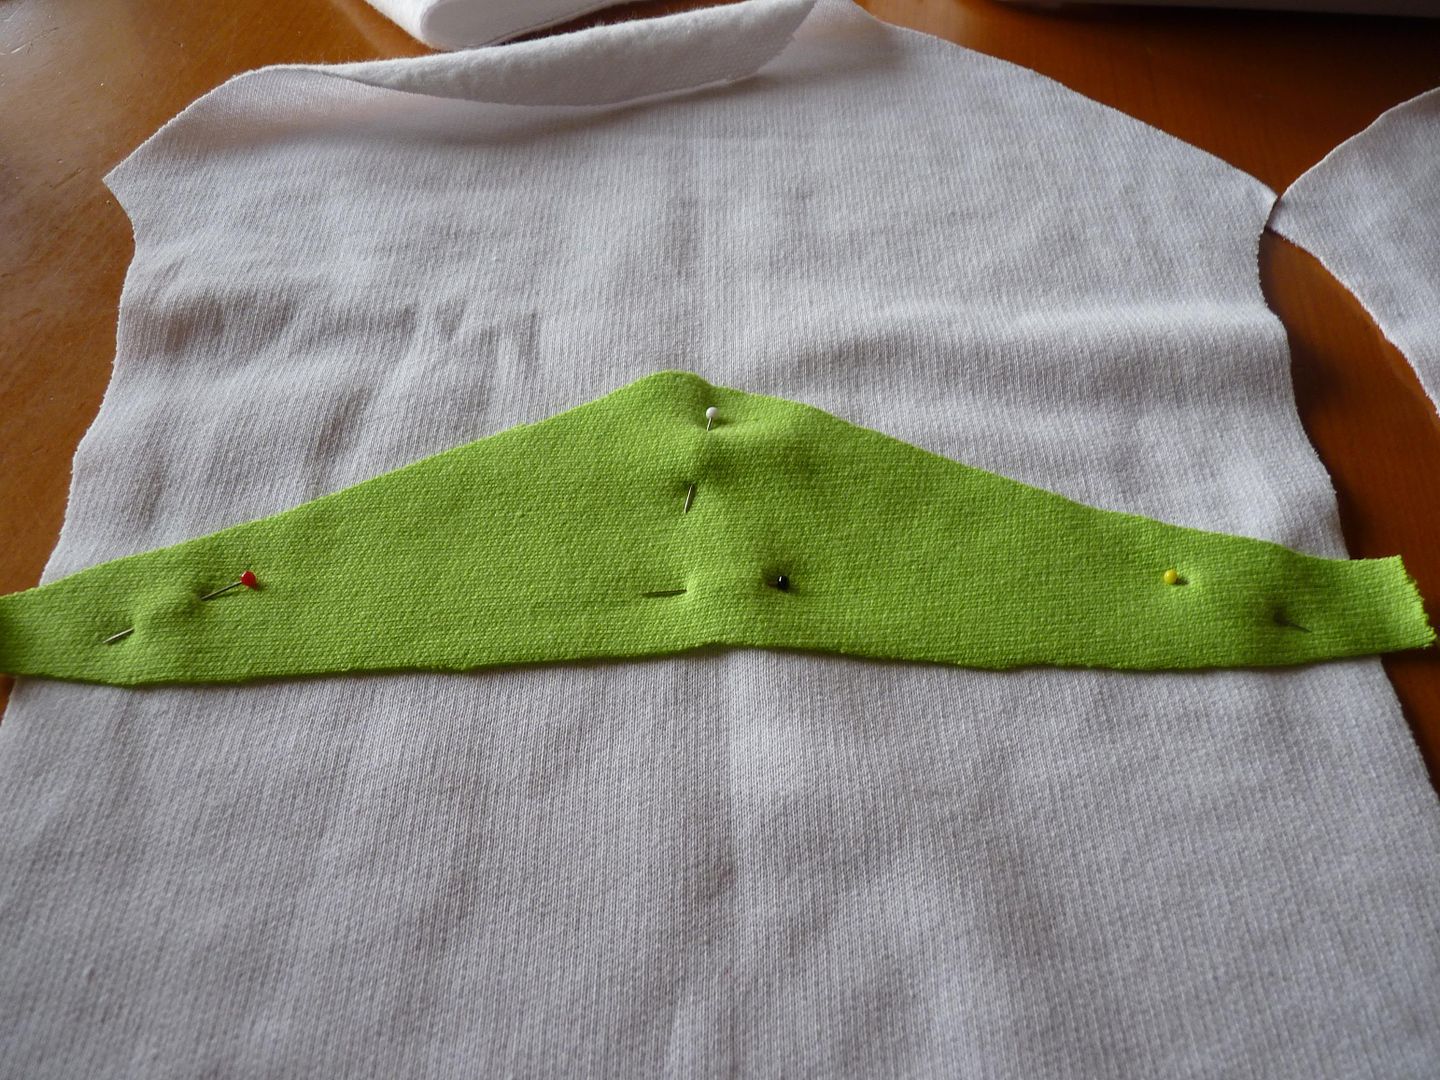
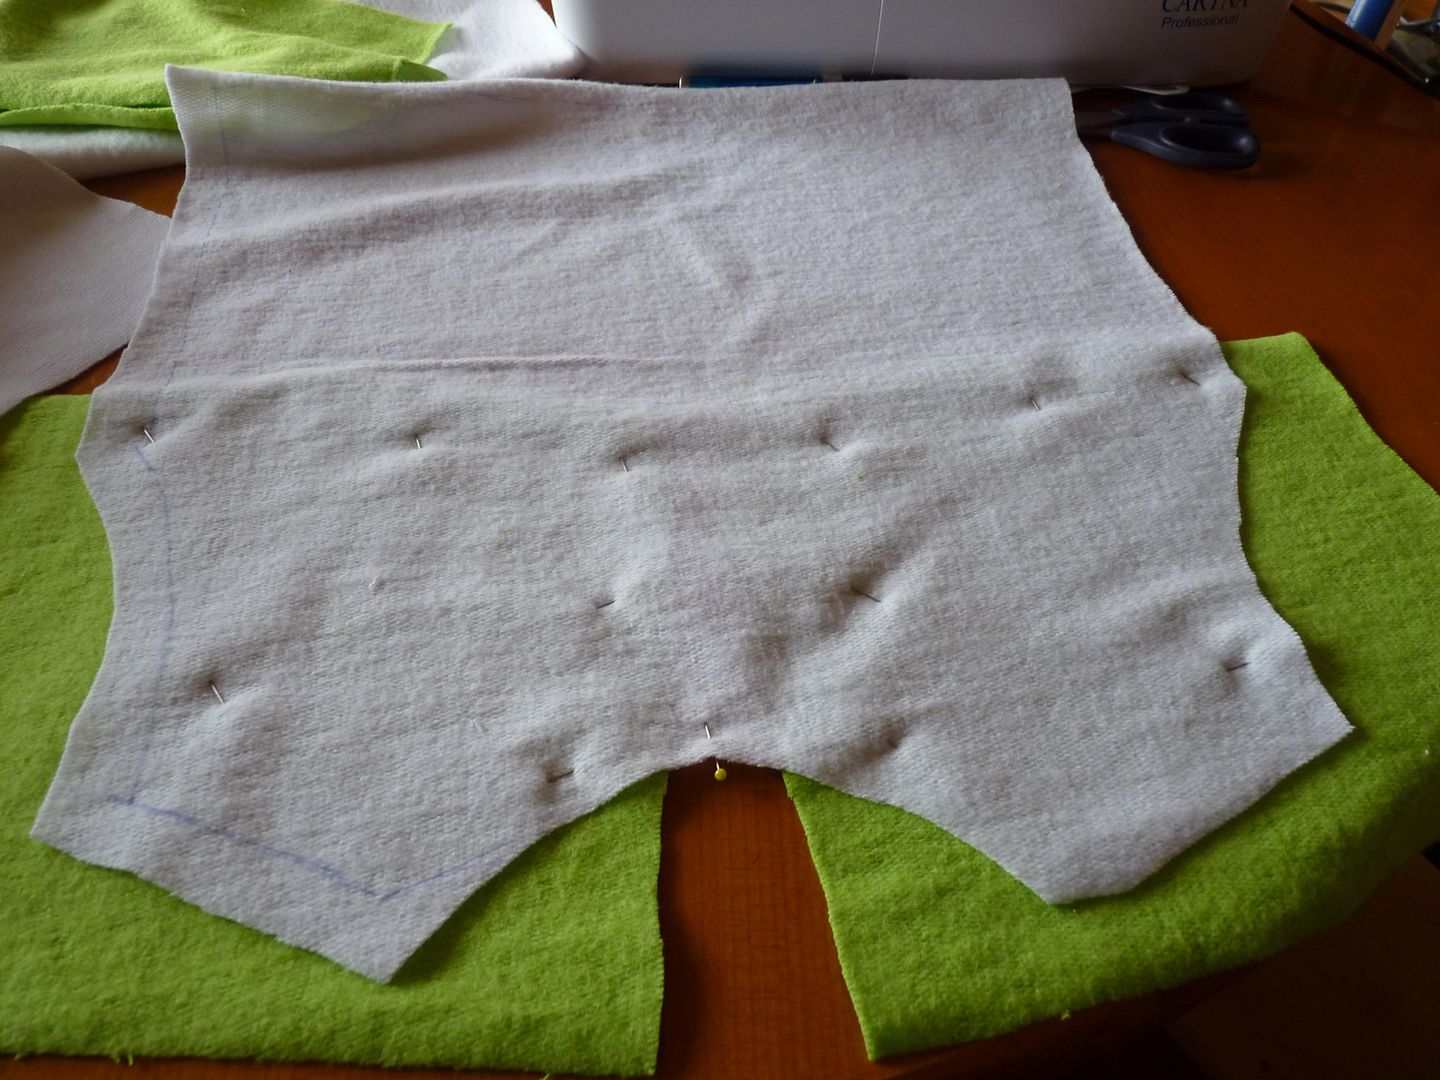


It probably looks something like that from the back now


Stitch everything in place with a zig-zag stitch


Fold the green borders in half and attach to sleeves and front/back.
I also attached the green borders to the legs at this point, I figured it made sense ;-)
I top stitched them, too - it looks neat.
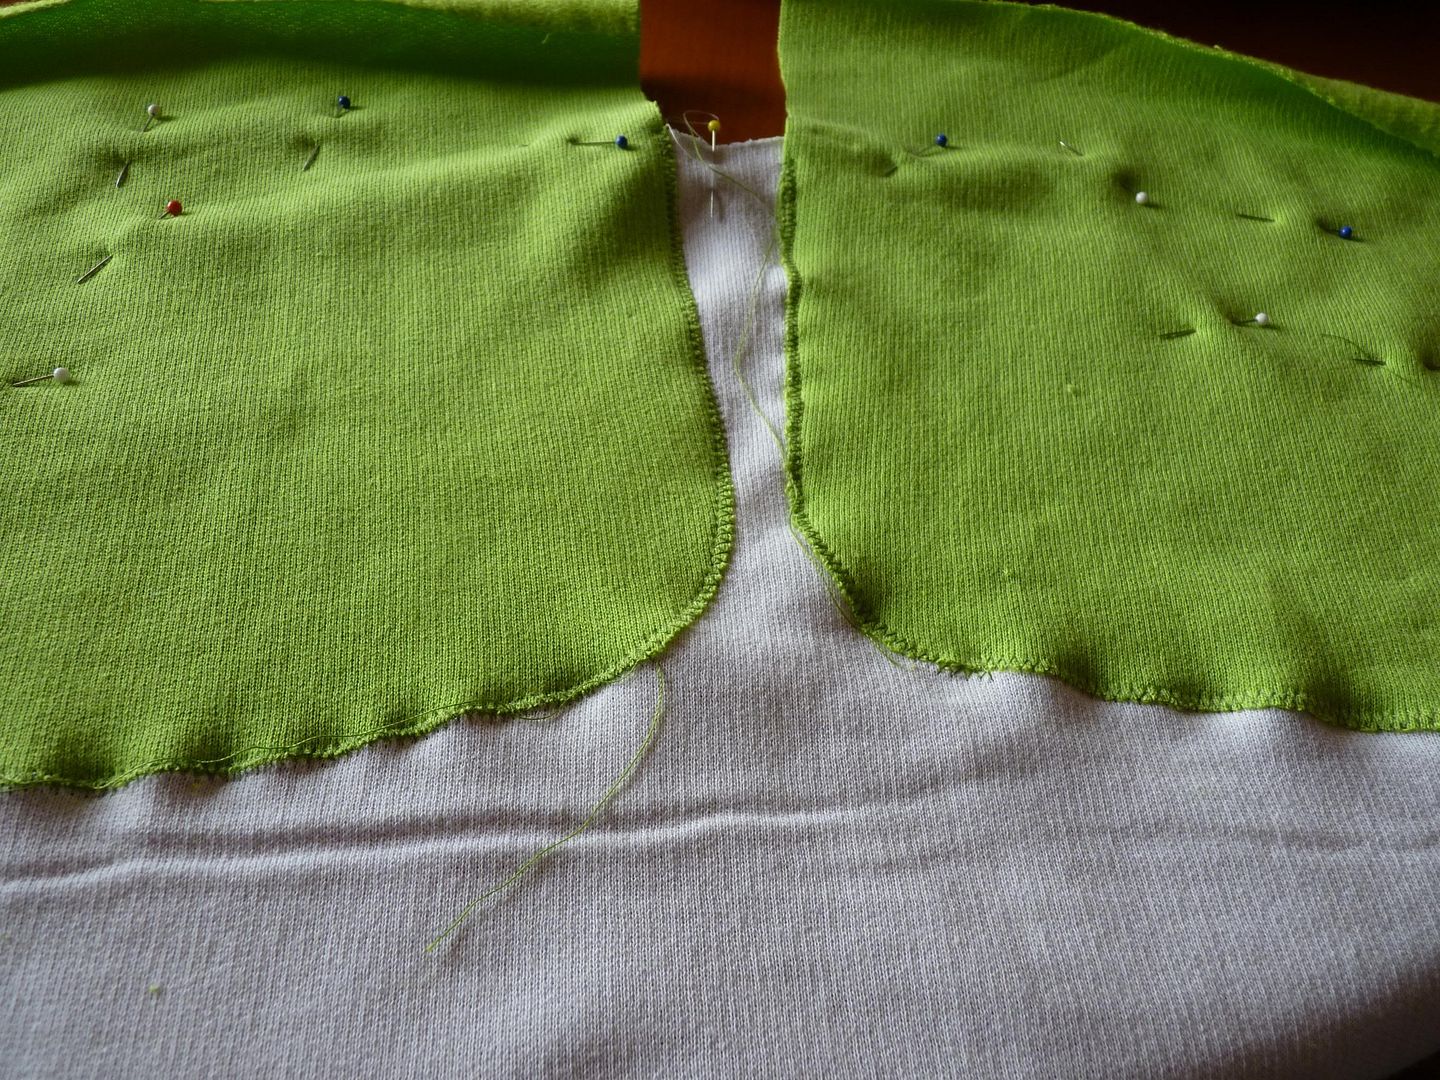
Now I cut off the excess fabric from the green panels.
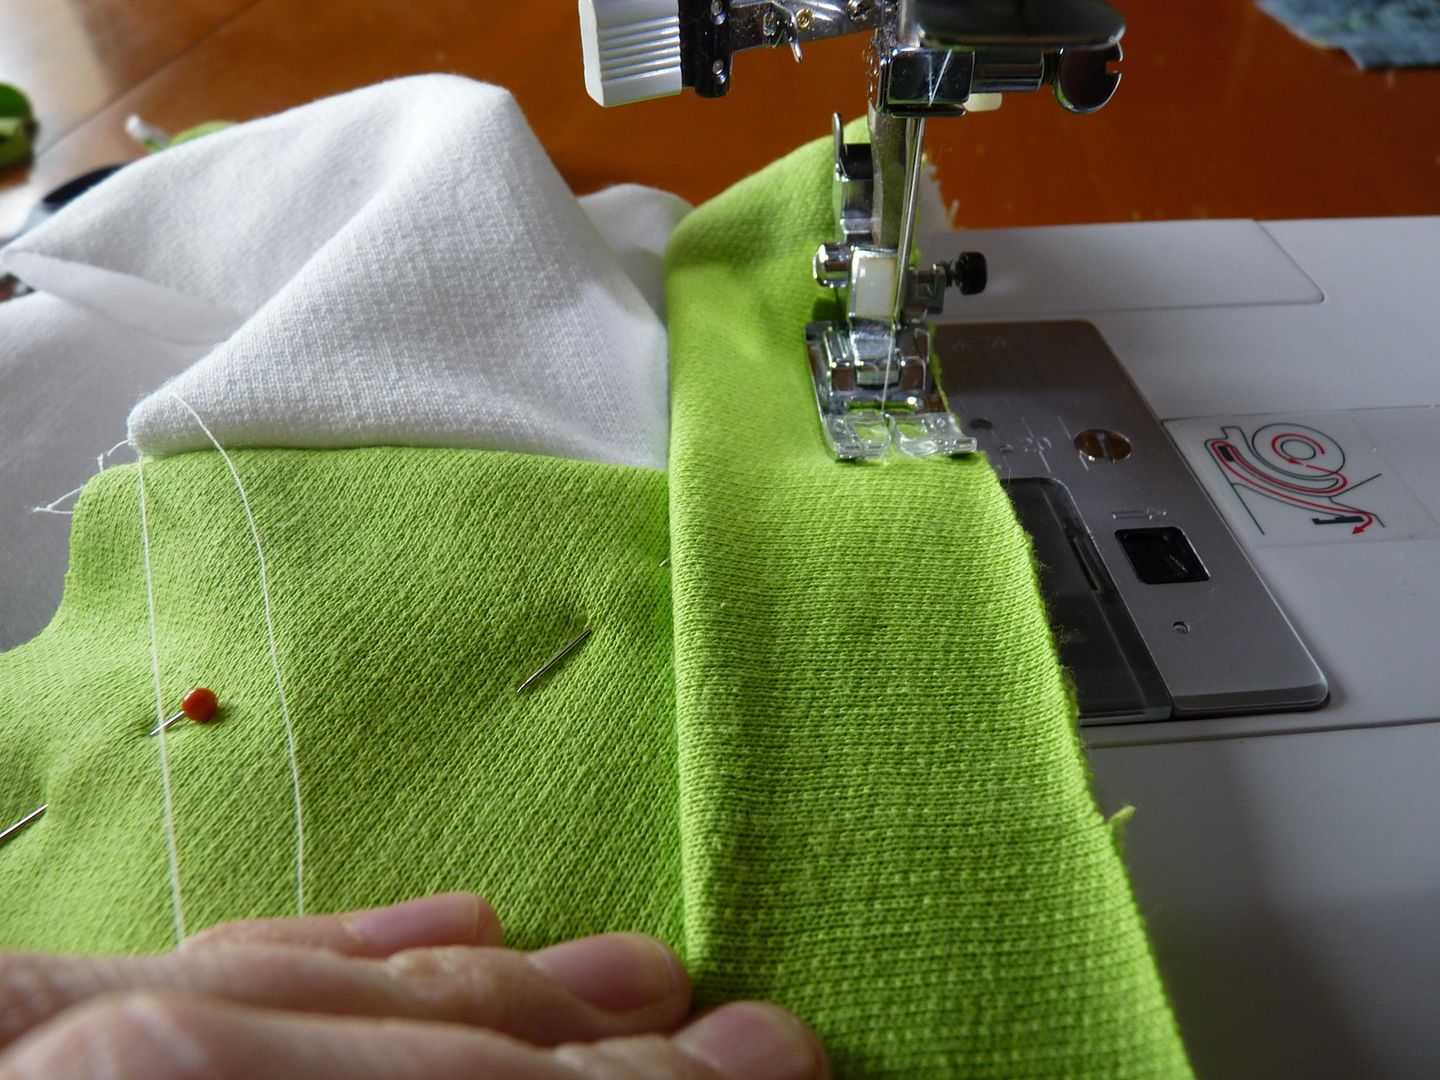


I closed one shoulder seam, folded the neck band in half and sewed it to the neckline. After that I closed the other shoulder seam and topstitched everything.
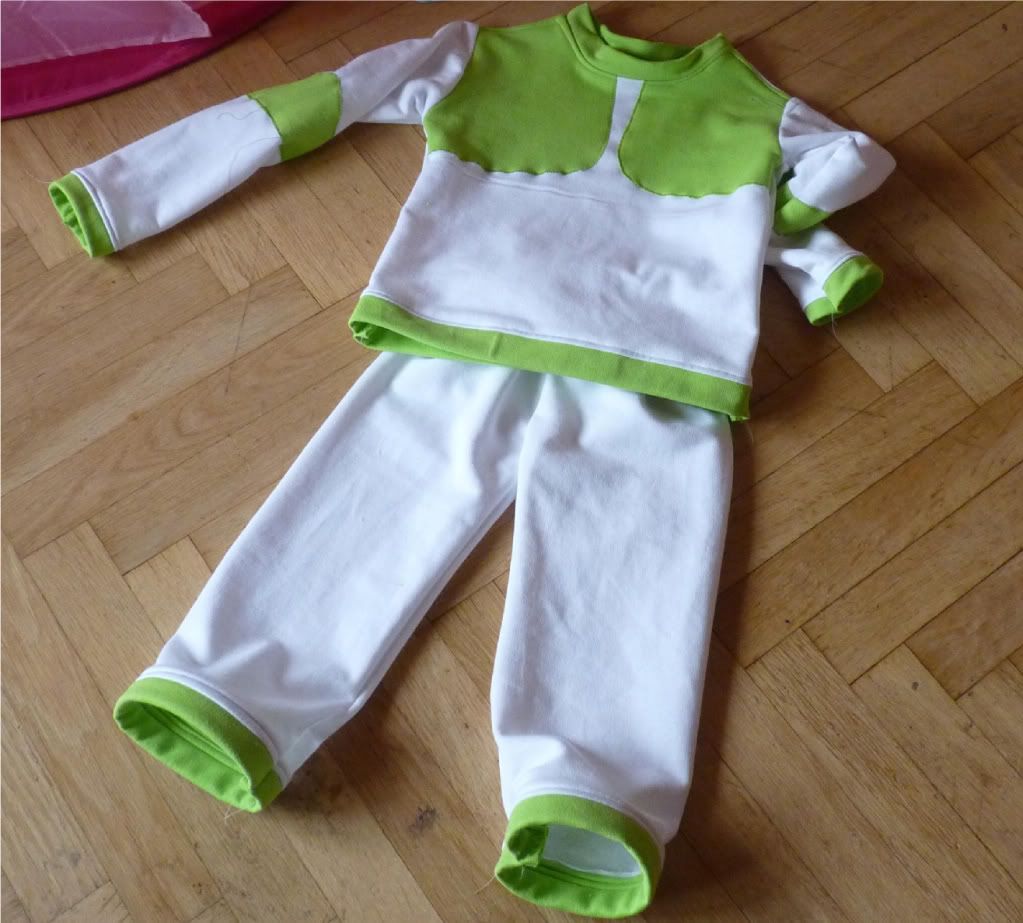


Pinned sleeves in place and sewed them in. Sleeves and body get stitched in one seam


The Pants are very straight forward - just simple pants with an elastic waistband.
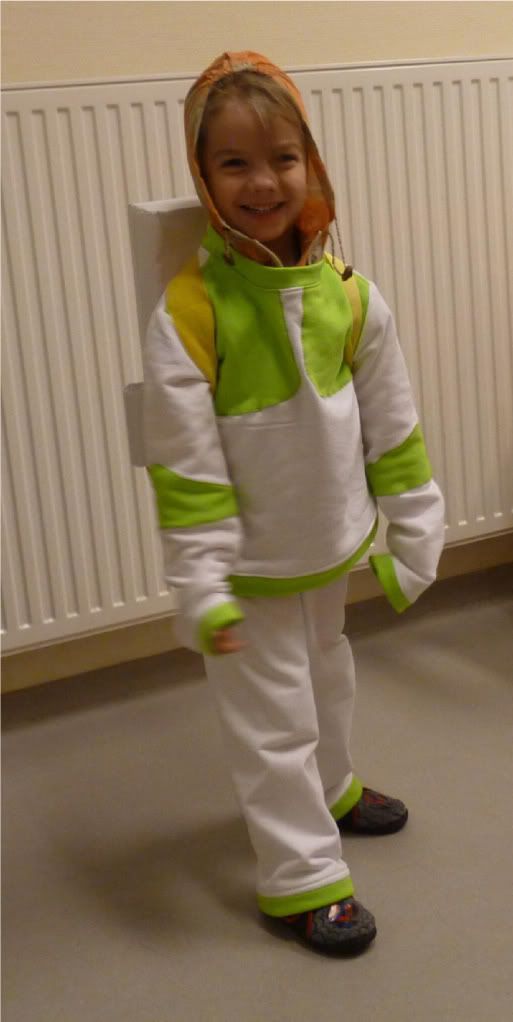
Voilá - a little astronaut!


This was surprisingly easy and fast to make. I'll post how to make the jet pack at another time - Mr. Turtles made it almost by himself.
I am posting a link to the Project Run and Play website... they are doing auditions for the next season. I would love to be part of this and make some cool boy stuff, but i don't think I've got a shot, everything there is so amazing...


Keep sewing,
Vee


Sunday, 6 November 2011

Space Sunday/Weltraumsonntag (good for untalented crafters and lazy people, too :-))

We've started our space unit and here is some of the fun stuff we did so far - complete with a tutorial for a super, super easy Rocket craft and a video!
Wir haben mit unserer Weltraum-Lerneinheit angefangen, und hier gibts ein paar der Highlights für Euch - mit einem Tutorial für unsere supereinfachen Ballonraketen - sogar mit video!

Mr. Noodles
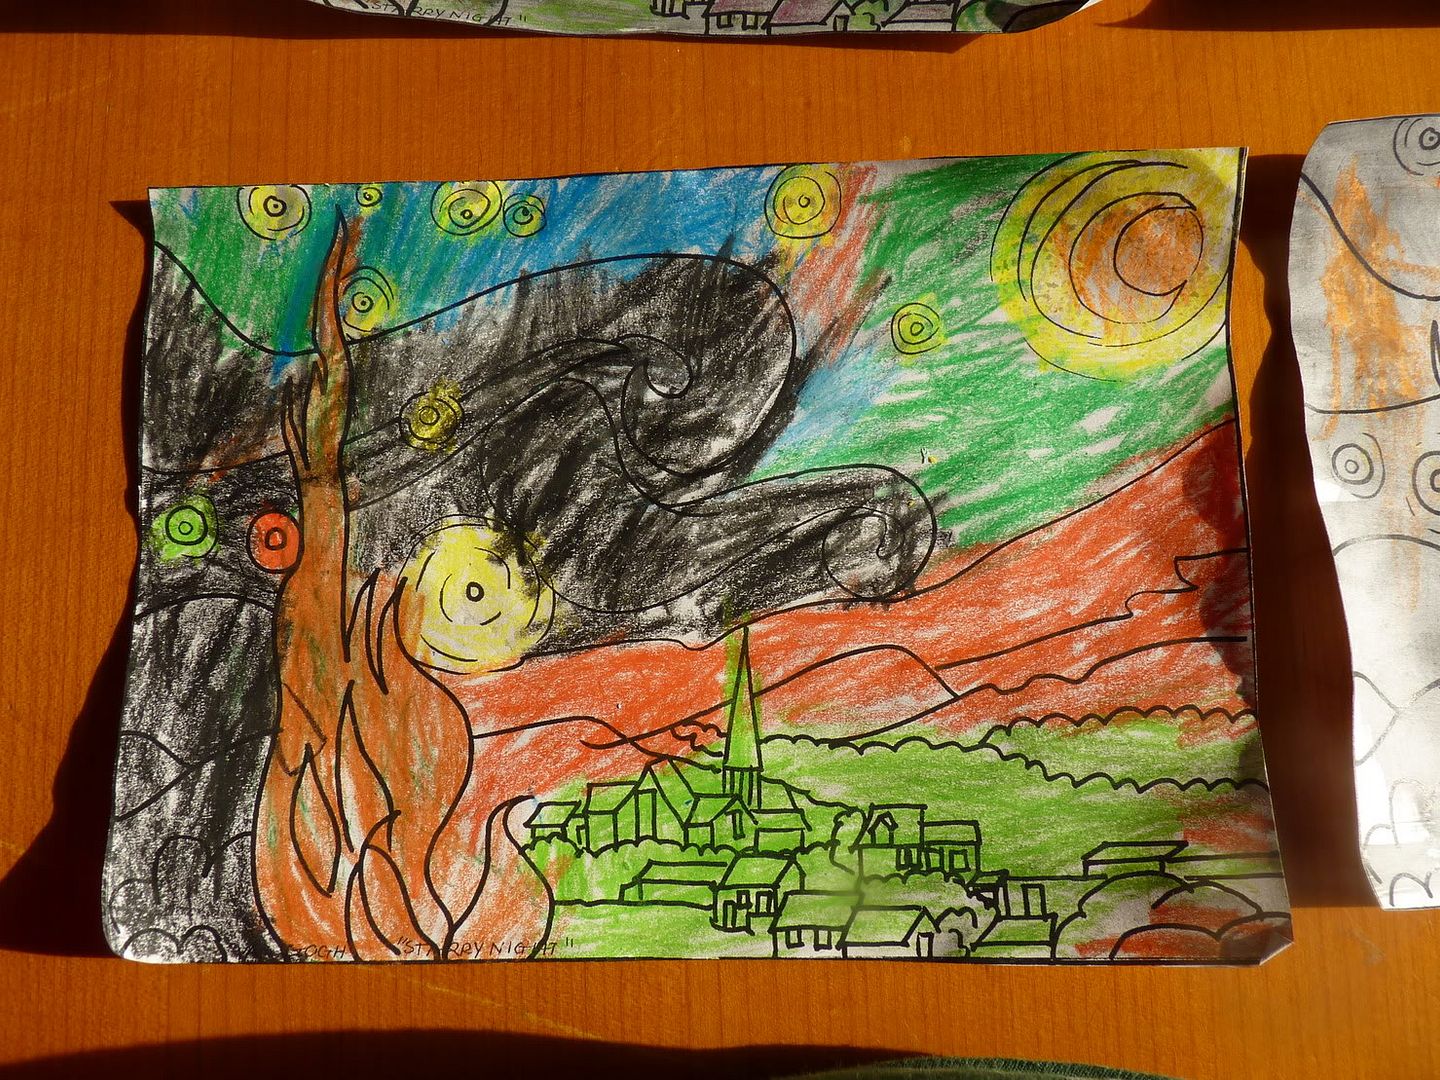
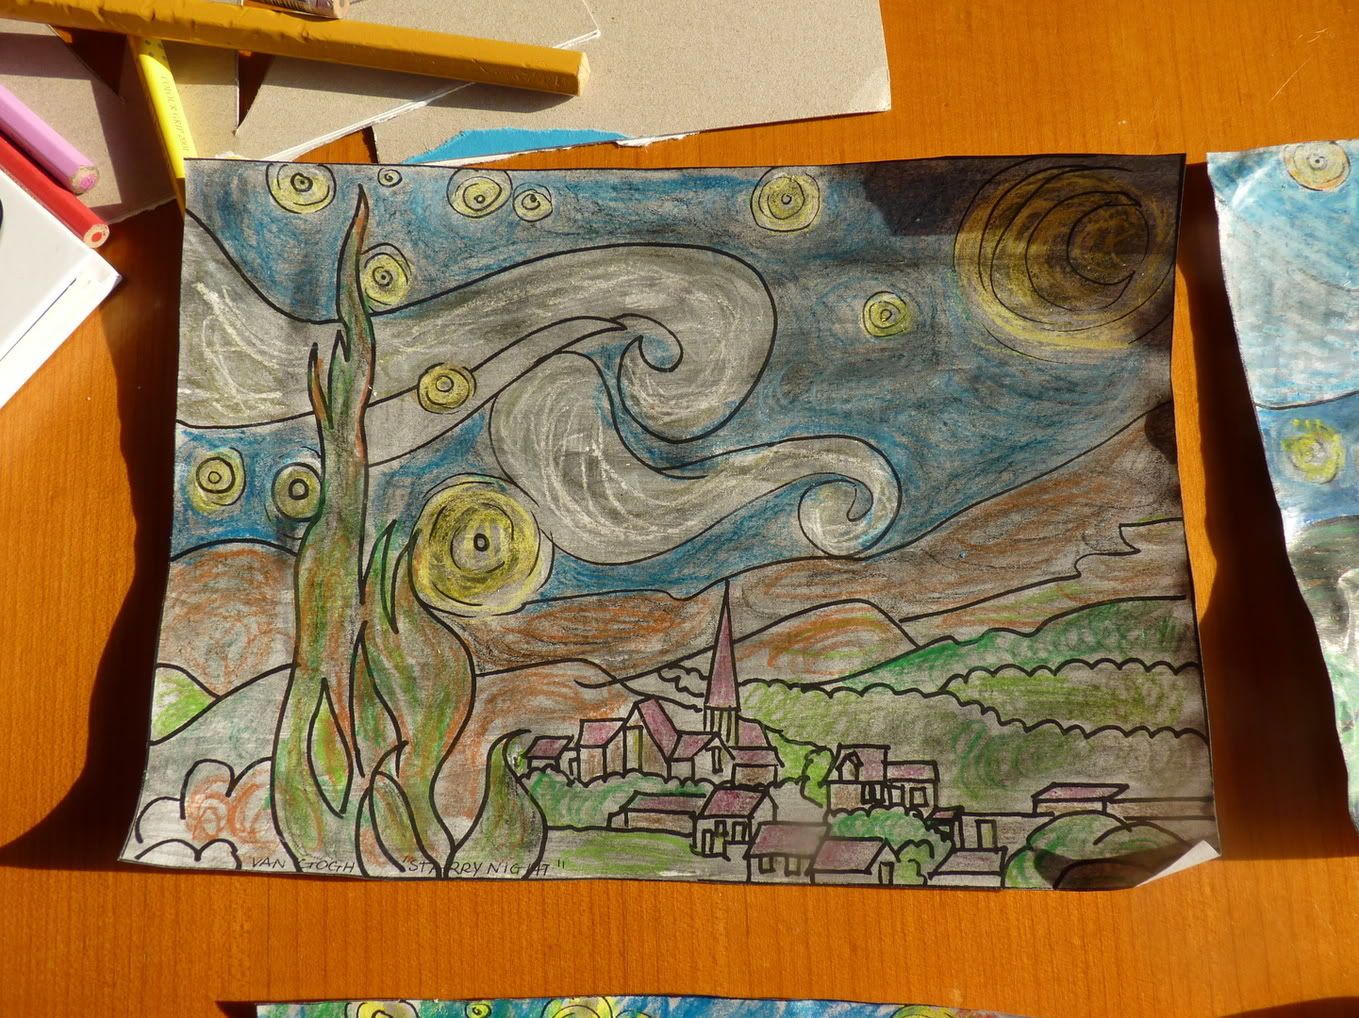
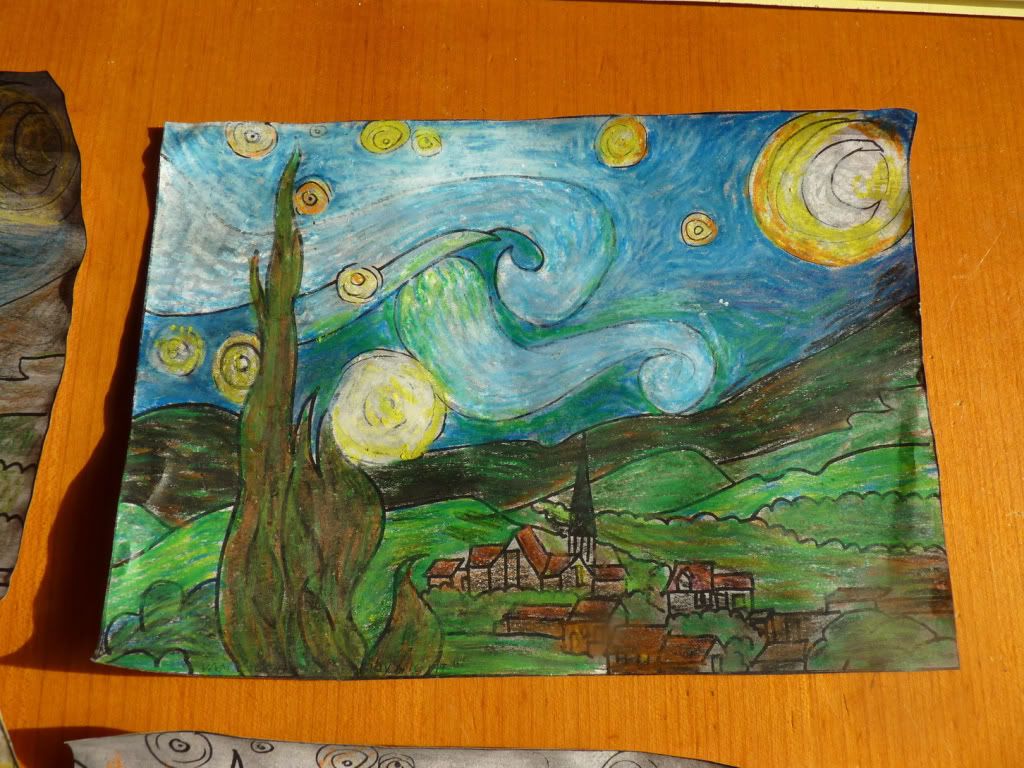
We started our "Space" unit by looking at the night sky and painting one of my all time favourite pictures, "Starry Night"  by Vincent van Gogh - I got the idea for the Art Project from this wonderful blog - Nadene drew the outline we used and you can download it there for free :-)
We used the technique described on that blog, only we used crayons (worked really well, too!)
My Mom was there, so she got to color, too - it was a nice family fun activity!

Oma
Wir haben unsere Weltraum-Lerneinheit mit der Betrachtung des Nachthimmels begonnen - und dann machten wir uns an eines meiner allerliebsten Bilder, die "Sternennacht" von Vincent van Gogh. Die idee habe ich von diesem wundervollen Blog - Nadene hat auch die outline gezeichnet, die wir verwendet haben. Ihr könnt sie dort gratis runterladen!
Wir haben die Technik verwendet, die auf dem Blog beschrieben wird, nur haben wir wachs- statt Ölkreiden verwendet. Funktioniert aber genauso gut :-)
Meine Mama war gerade zu Besuch, also durfte sie mitmachen - es war ein richtig netter Familien-Kunst-Nachmittag!

Me
We all had seen the picture before, but I didn't wan to have the original (or rather a copy in a book - I wish I owned the original!) on the table because I wanted to see what the kids would come up with - the pictures where really creative!
Wir kannten alles das Bild - ich hatte es aber nicht als Vorlage daliegen, ich wollte lieber sehen, wie meine Kinder das ganze sehen - und die Bilder wurden sehr kreativ!

We watched "The moon rocks" (bubble Guppies episode), sang along and decided to go to space ourselves.
Wir haben uns die "Der Mond ist toll" Episode der Bubbleguppies angeschaut and mitgesungen und  beschlossen, Raketen zu bauen um selbst in's Weltall zu fliegen.

This craft is so easy, EVERYONE can do it. You need this:
  • balloon
  • cardboard/cardstock
  • colored pencils or crayons
  • double sided sticky tape
Das is so einfach, JEDER kann das schaffen. Ihr braucht:
  • Luftballon
  • Karton/Pappe
  • Buntstifte oder Wachskreiden
  • Doppelseitiges Klebeband

This is how we did it:
So haben wir's gemacht:

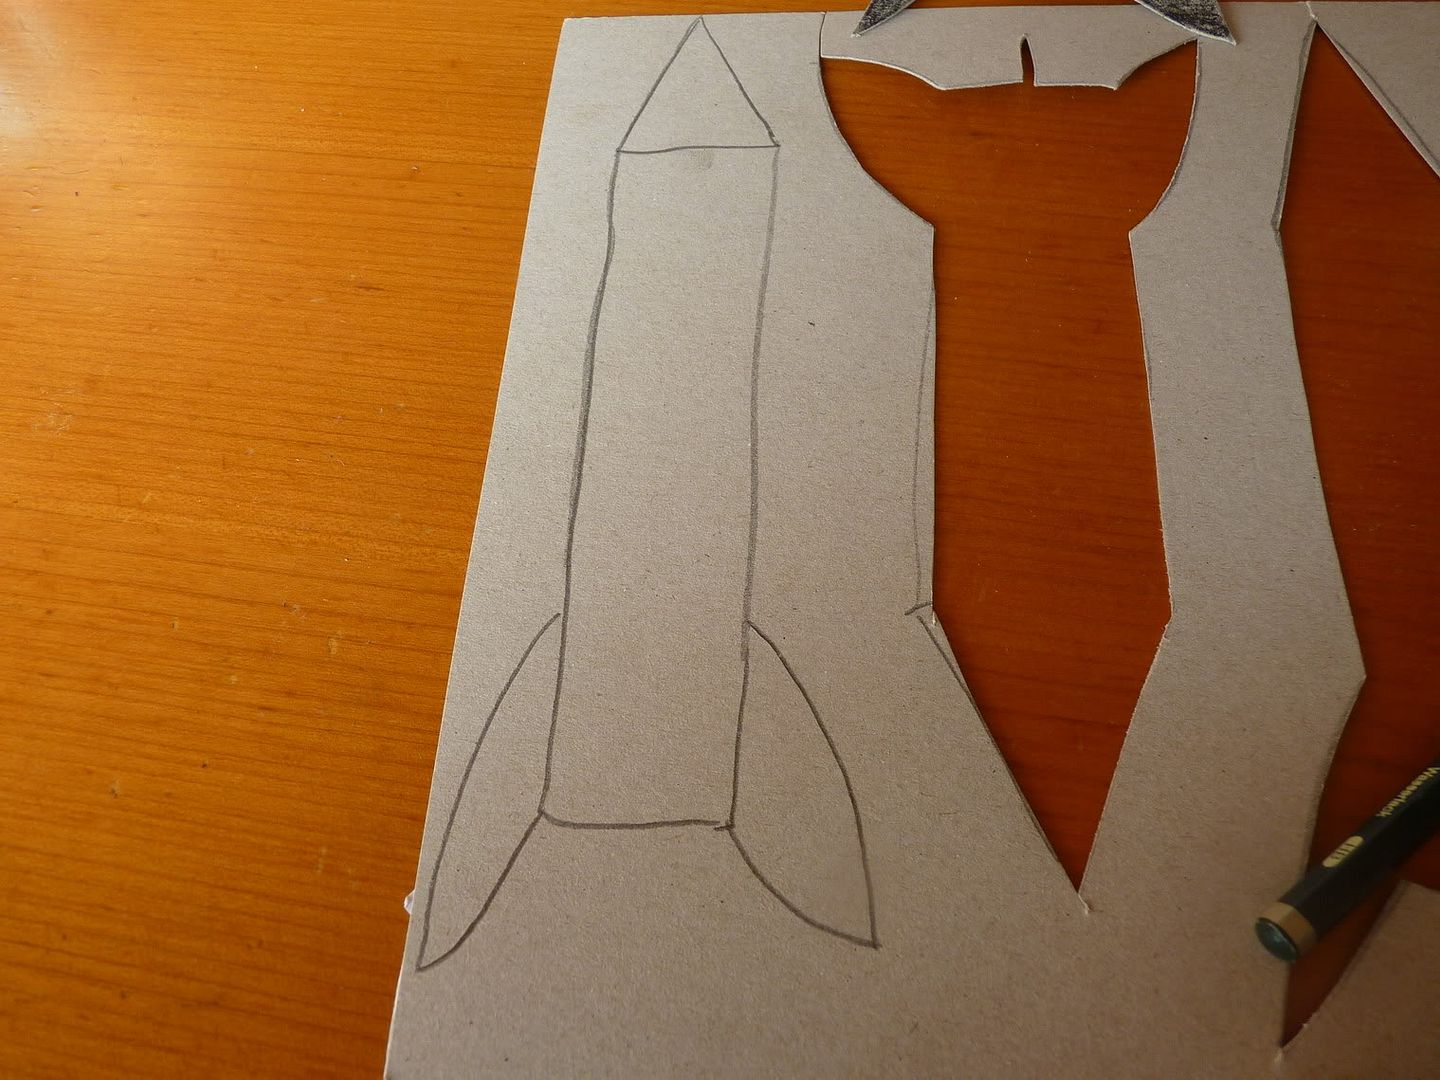
Draw a rocket on your cardboard and cut it out
Zeichne eine Rakete auf die Pappe und schneidet sie aus

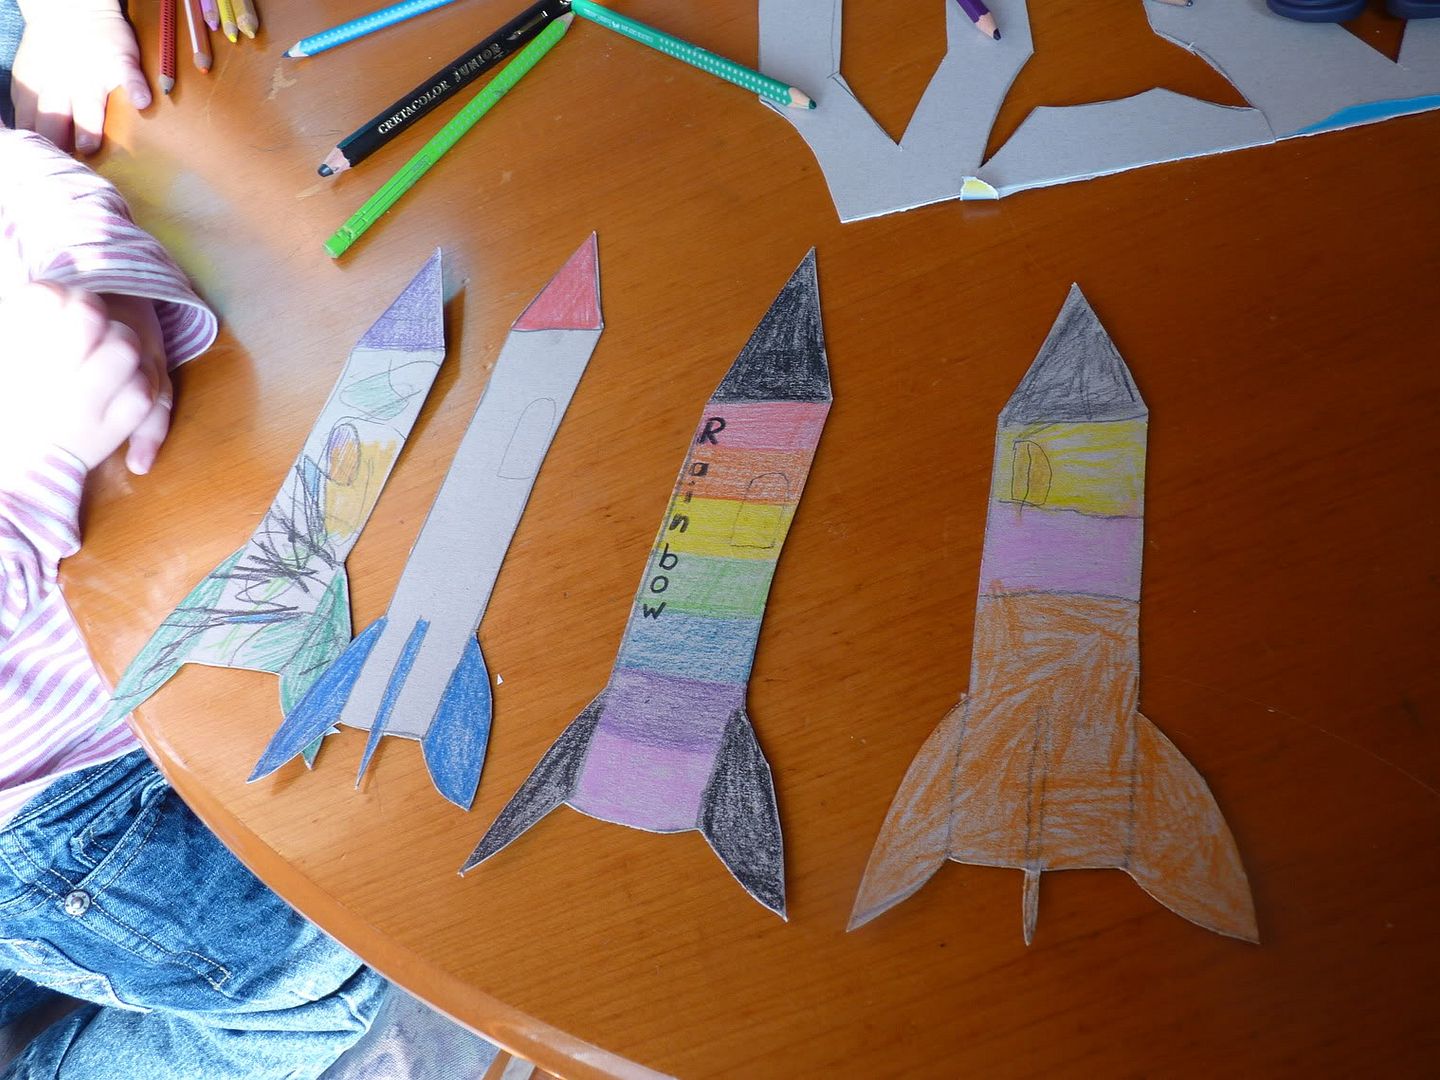
Color your Rocketship
Malt eure Rakete schön bund an

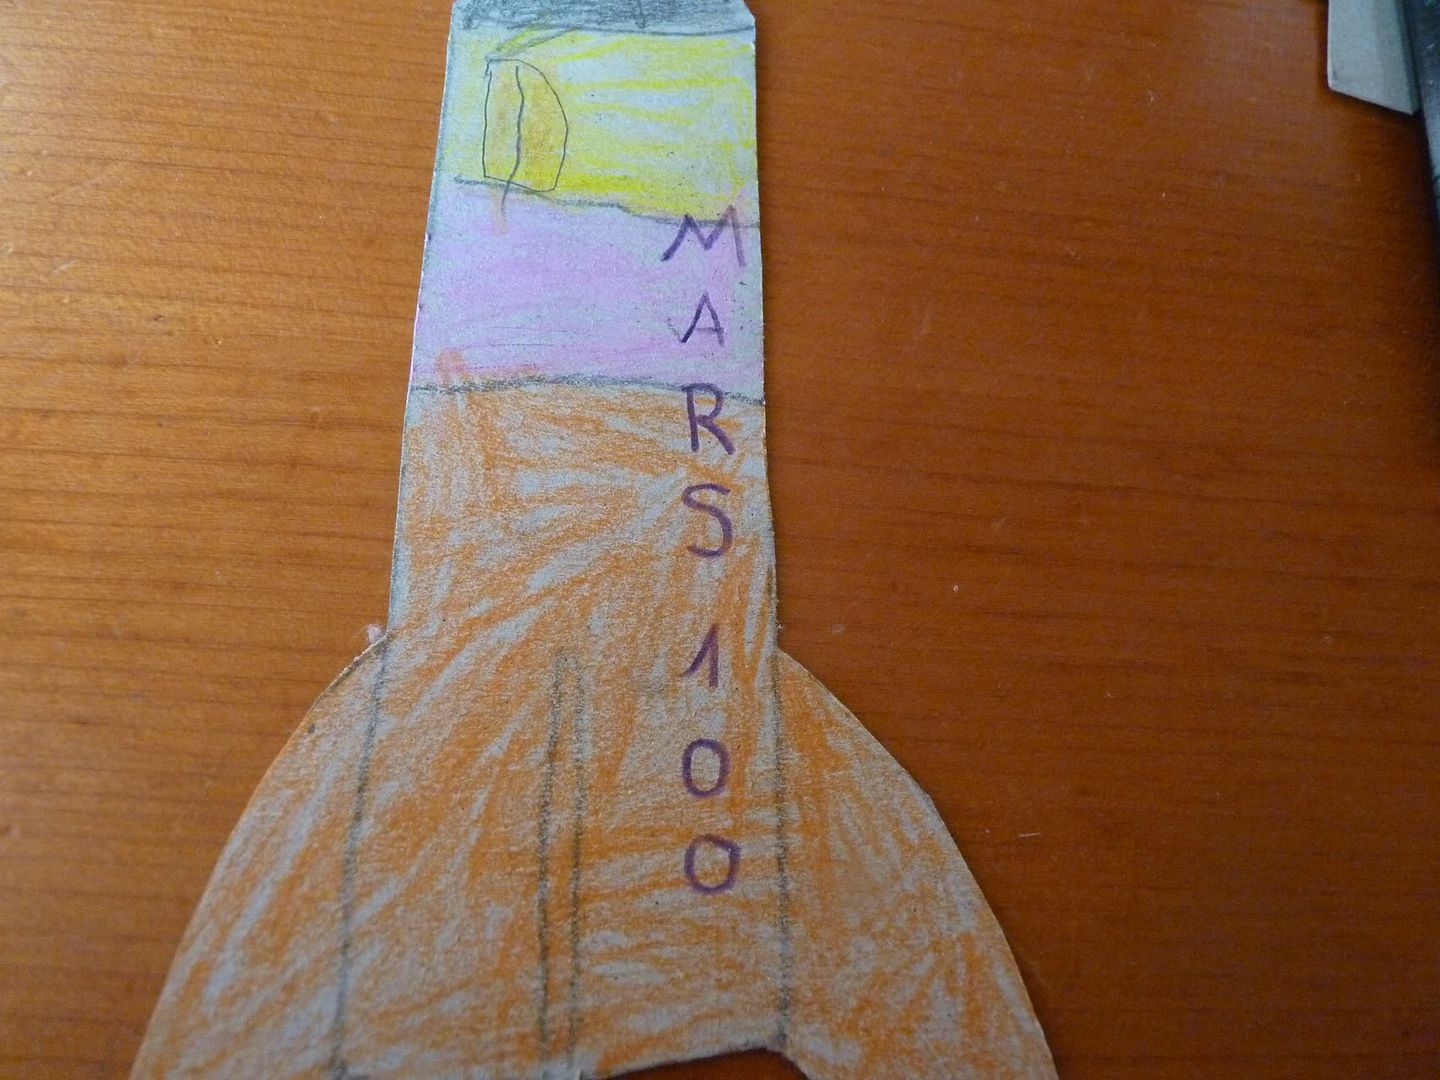
Name your Rocket
Gebt der Rakete einen Namen

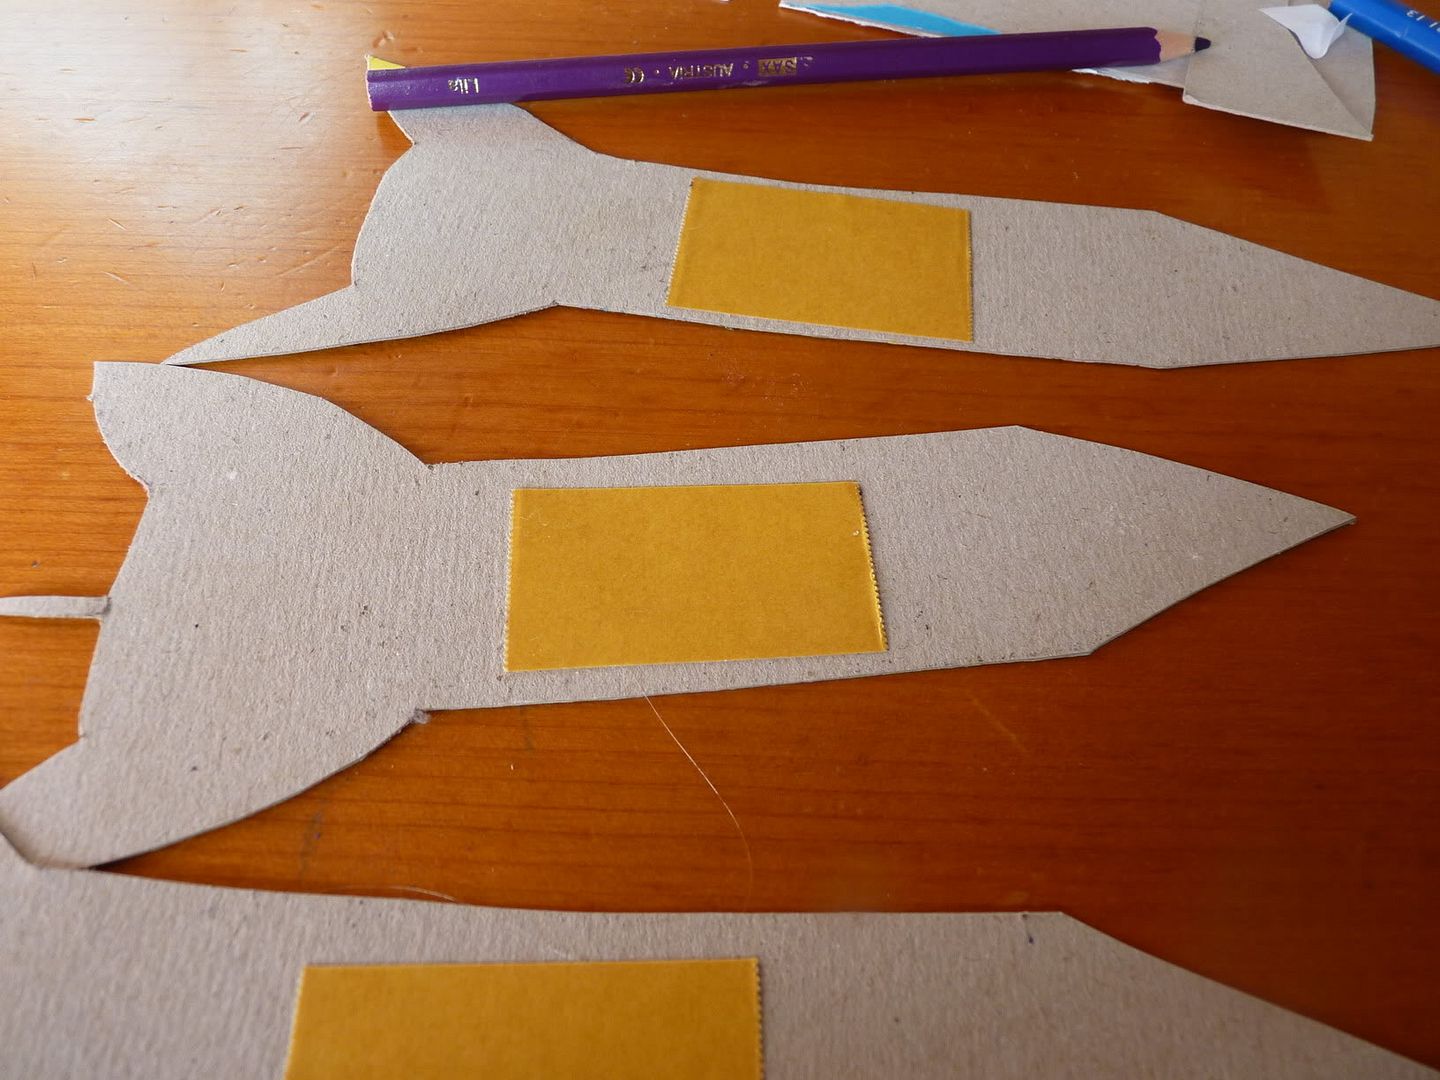
Double sided sticky tape goes on the back
Doppelseitiges Klebeband auf die Rückseite

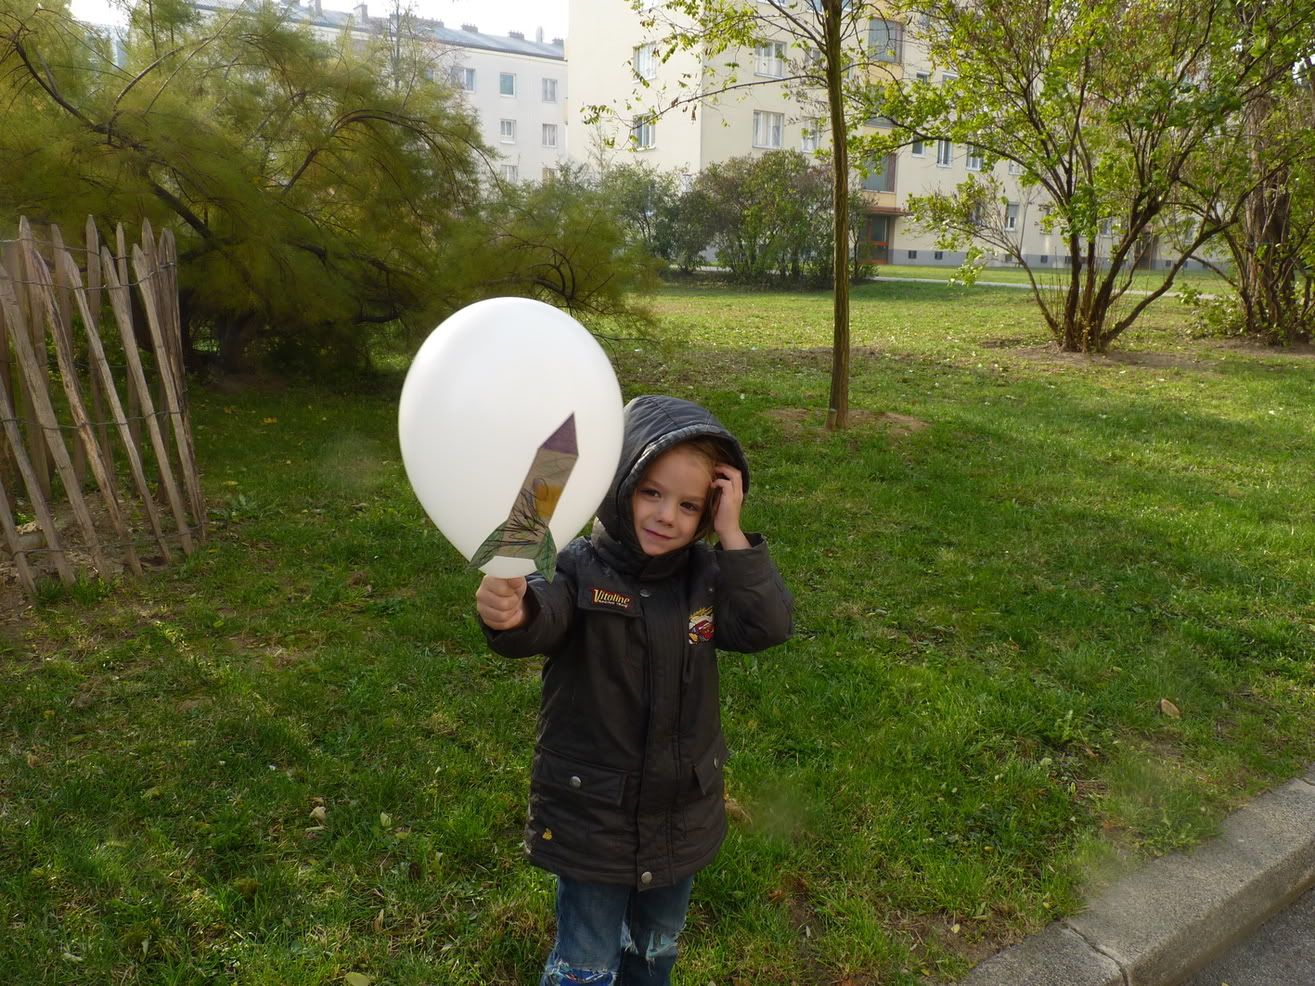
blow up a balloon, stick on rocket
Ballon aufblasen, Rakete draufkleben

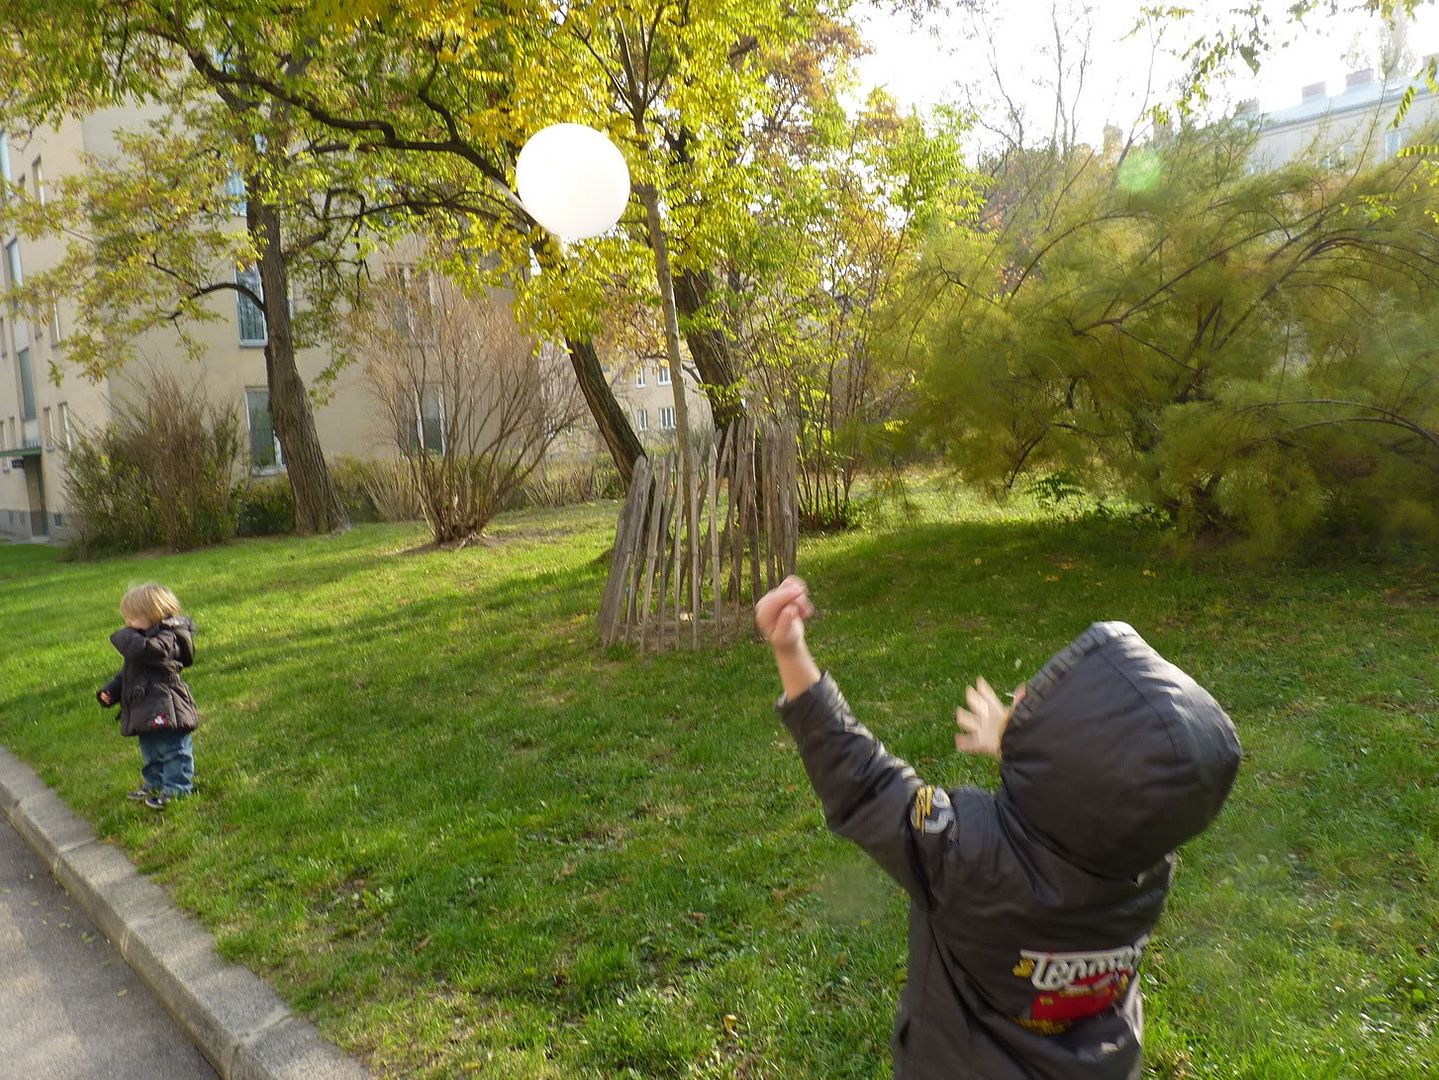
Let her fly!
Lasst sie fliegen!


And here is the Video of Mr. Noodles practicing counting down in english
Und hier ist Mr. Noodles und sein englischer Countdown: 


Vee

Thursday, 26 May 2011

I just realized I never showed you this...

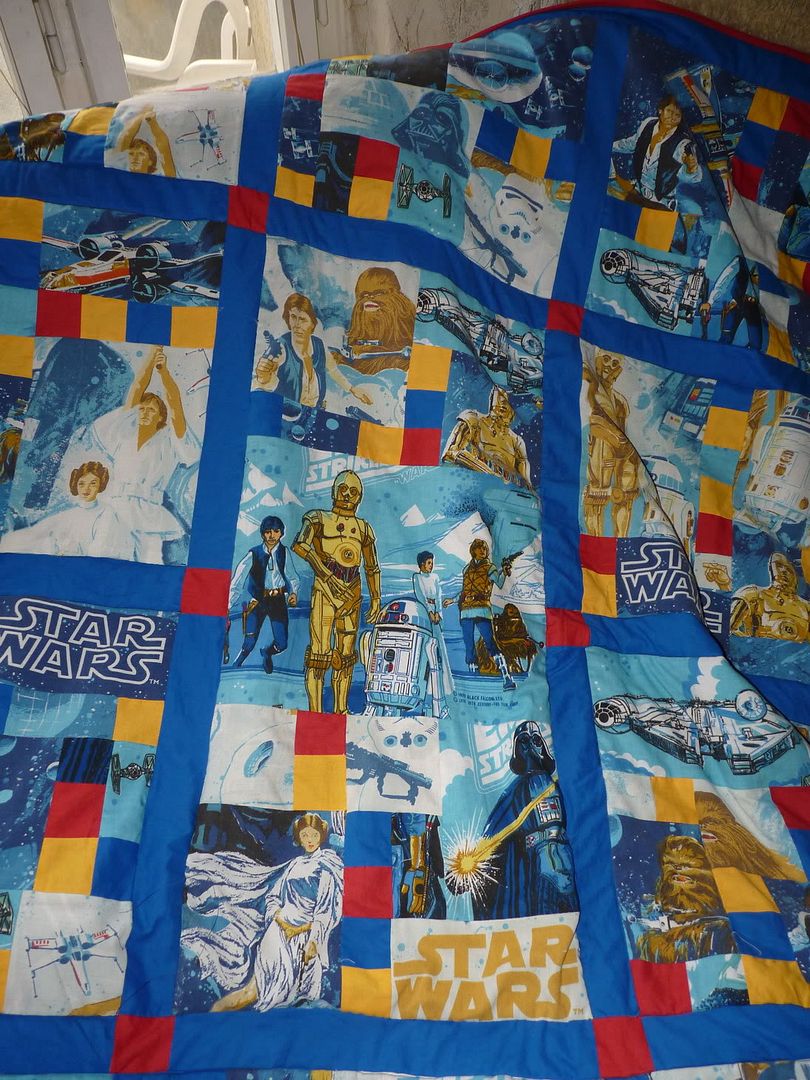
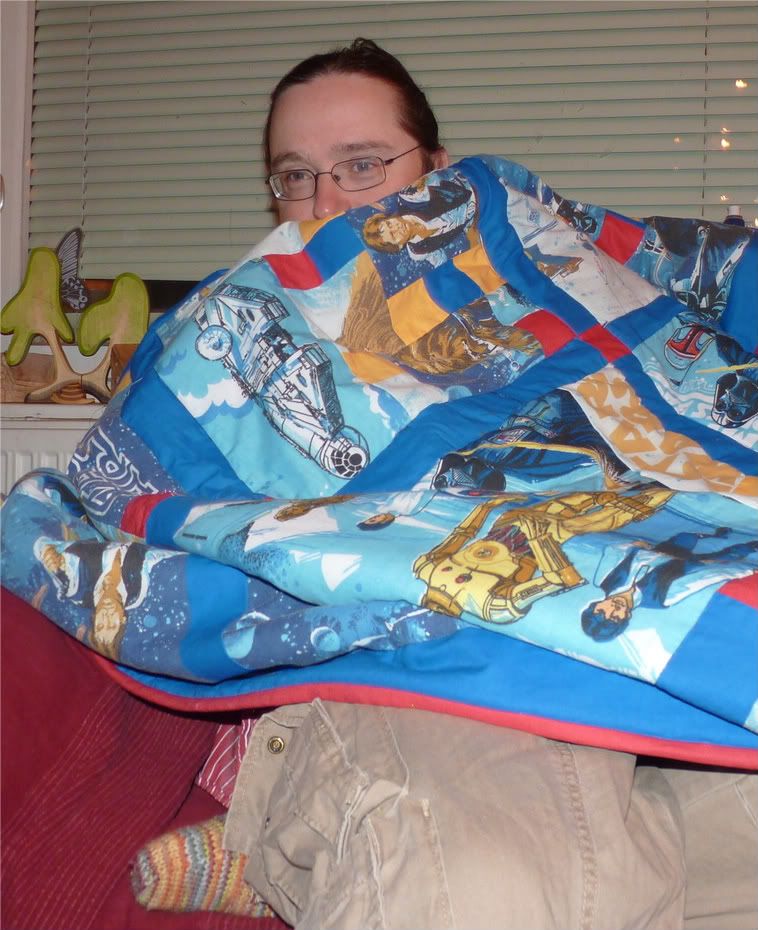
I know the Holidays are wayy behind us, but I just realized that I forgot to show you what I made for my husband! He is the biggest Star Wars Fan I know...
Weihnachten ist zwar schon lange vorbei, aber mir ist gerade aufgefallen, dass ich euch nie gezeigt habe, was ich meinem Mann geschenkt habe! Er ist der größte Star Wars Fan den ich kenne...

I got the fabric from a really cool shop on etsy...
Die Stoffe habe ich auf etsy in einem echt coolen shop gekauft...

http://www.etsy.com/shop/whimsiedots


and the solids are from Ikea
die einfarbigen Stoffe sind von Ikea


This is the first quilt I have ever made :-) I had a blast - I think it took close to 100 hours for me to finish it. I started by cutting up the Star Wars fabric into squares and rectangles in multiple sizes from 5cm to 40cm (all multiples of 5cm) plus half a cm or so all the way around. I arranged the squares/rectangles into 40cm by 40cm squares, filling the gaps with 5cm solid squares.


Das ist der erste Quilt den ich gemacht habe :-) Ich hatte jede Mange Spass - und habe etwa 100 Stunden gebraucht. Ich habe zuerst den Star Wars Stoff in quadrate und Rechtecke geschnitten, die eine Größe von 5-40 cm hatten (alle ein vielfaches von 5cm), ein halber cm Nahtzugabe ringsum. Ich habe die Stücke dann zu großen. 40cm quadraten zusammengesetzt, die Lücken hab' ich mit den Ikea stoffen gefüllt.


I'm going to have a scheduled upload this week! I will upload on Sunday night to my etsy shop - you can follow me on facebook to see a preview as soon as I take the picture!


Ich werde am Sonntag abend neue Puppen in meinen etsy shop stellen - ihr könnt mir auf facebook folgen, um fatas der puppen zu sehen, befor sie in den shop kommen!

Friday, 18 March 2011

Behind the scenes: the making of a bunting baby

I thought you all might enjoy a look behind the scenes - I recently made a whole bunch of bunting babies for my etsy shop, but a nice customer decided they wanted a baby with open eyes instead of my usual sleeping babies. I was delighted to make a baby like that - and I have to say that I have NO IDEA what I prefer. What do you think?

To the cutting board... errr ...table! After that, I sew the body and hat with a special, non ripping thread - not the same as the one I use for the shaping of the head, though.
The customer wanted a purple body and hat, blue eyes and brown hair. I love doing custom work because I don't have to come up with all the possible variations - and I always hope that a custom doll will end up being something really special to a customer.

The head is filled with fiber fill to make the doll washable since it is for a little baby and shaped with non ripping thread into the typical waldorf head shape. The nose gets stitched on right after this step.

After the head has been covered with skin fabric, I mark the  face with pins. I had a lot more pictures - but I didn't want to give away all of my little secrets ;-)
Also, this blogpost would  get really, really long!


Once I like what I see, I have another use for the pins - I use one to paint the doll's face. The eyes are painted in several steps with lots of drying time in between - and I love adding the final touches like freckles and the highlights in the eyes. It makes the come alive!


I fill the body and attach the head and the hands. Hair is added to the head and the little hat is stitched on - this may sound like a quick step, but it actually takes quite a long time to get everything right - especially the hair!

At the end, the doll gets a haircut and is ready for shipping! I take a last picture so I can add the doll to my gallery (I promise! I'm working on it!), the doll gets a last hug and a kiss for good luck and it's on her way to the USA.

I hope you'll arrive soon at your new home!

Hugs,
Vee
Want a custom doll, too? check out my etsy shop!

Tuesday, 27 October 2009

New kit in store, tutorial for virtual pumpkin carving, a freebie... grab a snack, it's a long post!

Hello there,

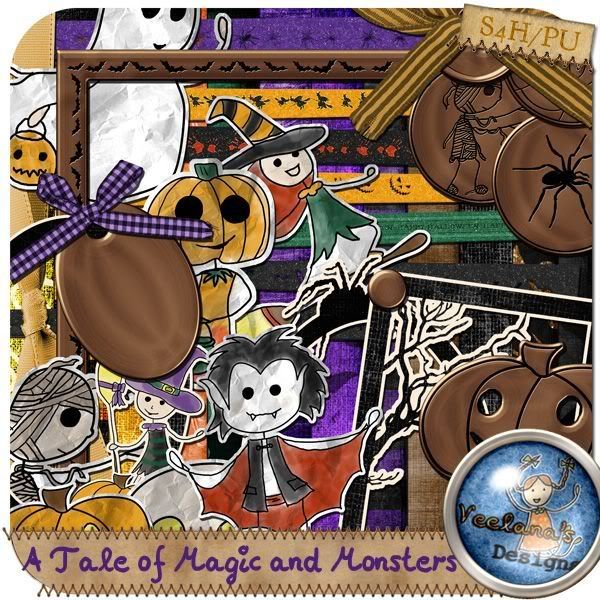
I got tons of news for you! My new kit has hit the store - its my Halloween kit and it's called "A tale of Magic and Monsters" Its has been quality checked at Stone Accent Studios and you can get it there for 25% off at the moment. It is at scrapbird already - THAT was quick! Thank you, Marzena!

You can get it here --> "A Tale of Magic and monsters" hurry! it goes back to regular price after halloween!
Its a fun kit, full of not-so-scary doodlemonsters, in classical halloween colors.

The SAS Halloween Bash is ON! You can still take part in almost everything - pumpkin decorating, progressive scrap and an avatar dress up contest! I can't believe that I've never done a progressive scrap before! This is soooo much fun - You get a few pieces to scrap with every day and you can't go back to change anything!

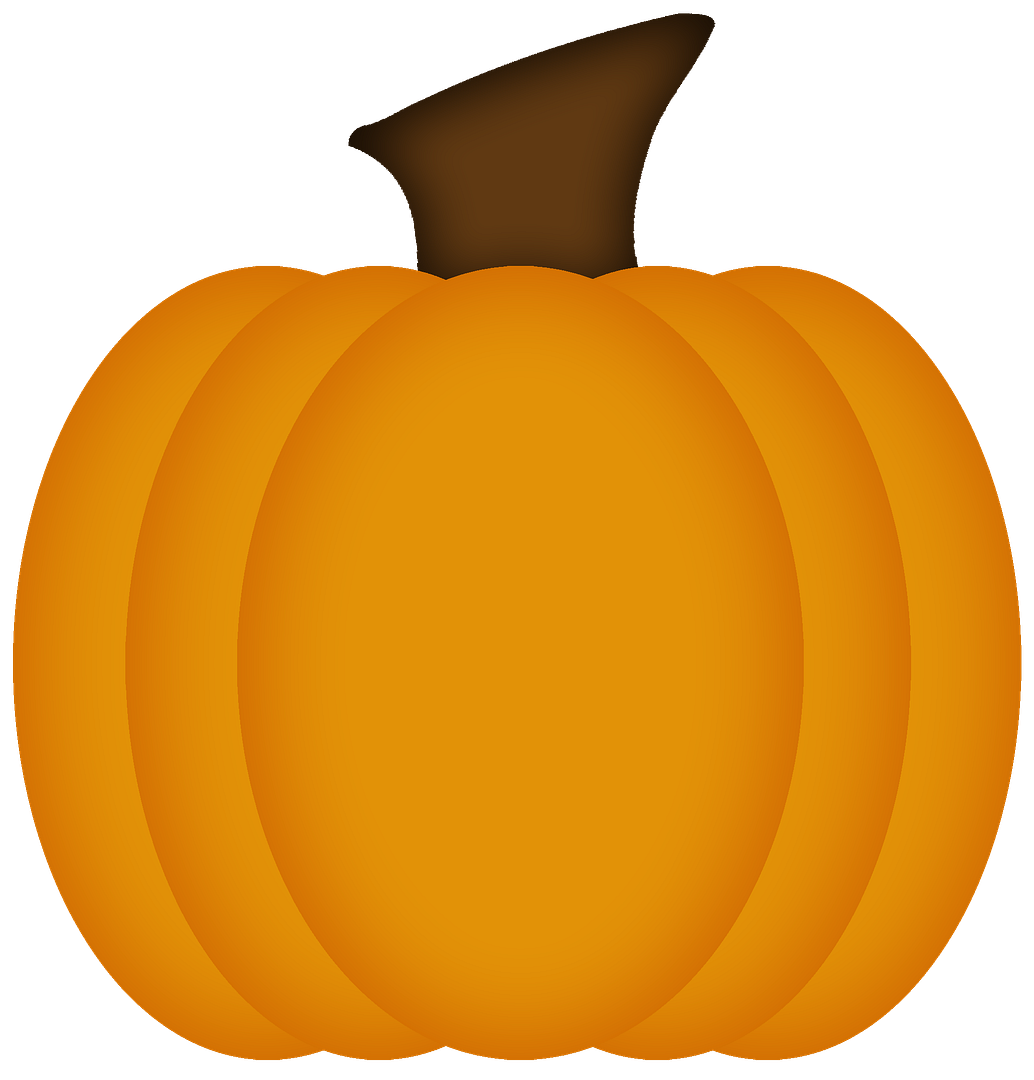
You get a cool pumpkin template from Kimberkatt that you can dress up. I had so much fun with the virtual pumpkin carving that I decided to share the fun and provide you with a tutorial. If you want to carve a pumpkin, feel free to download this one. Just click the picture to be taken to the full size version, right click and choose "save picture as..."
I also use some of bsilva's fantastic brushes - you can use anything you want, though :-) you can always click on the pictures to view the full size picture if you need it.

So, here it is:

Virtual Pumpkin Carving 101 in photoshop

Step one: Preparing the pumpkin

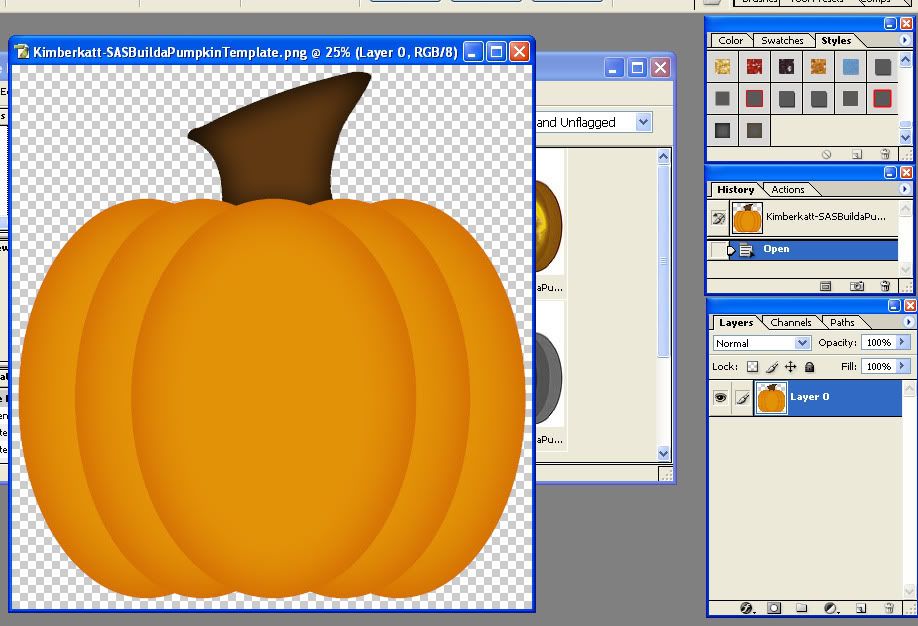
Open your pumpkin in photoshop - I'm sure it will work VERY similar if you use a different program :-)


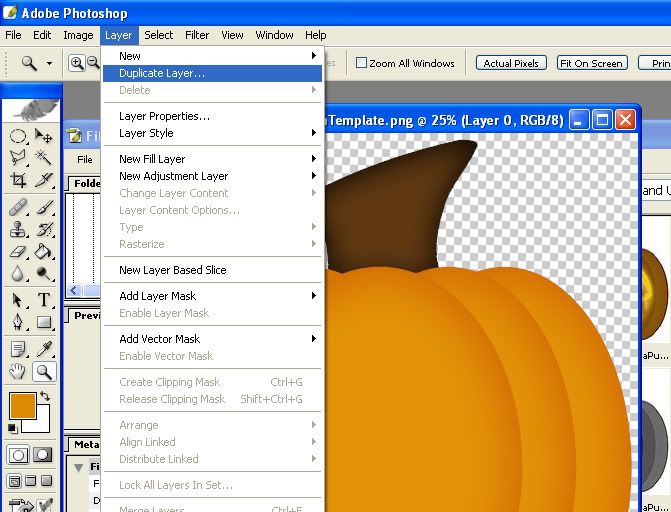
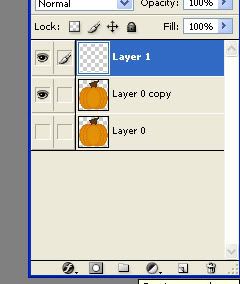
On your "Layers" tab, choose "duplicate Layer". Name it anything you want to, it doesn't matter at all :-)


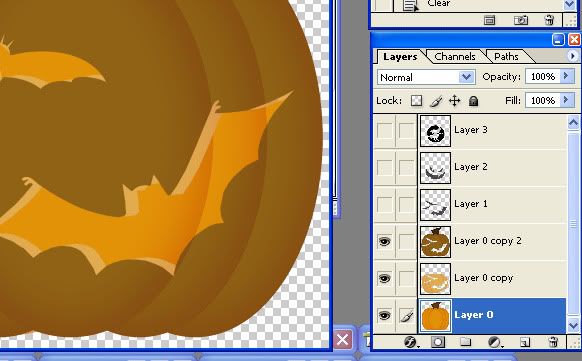
Make the lower of the layers invisible by clicking the little eye and make a new layer on top of the two lpumpkin layers.


Step two: the pattern

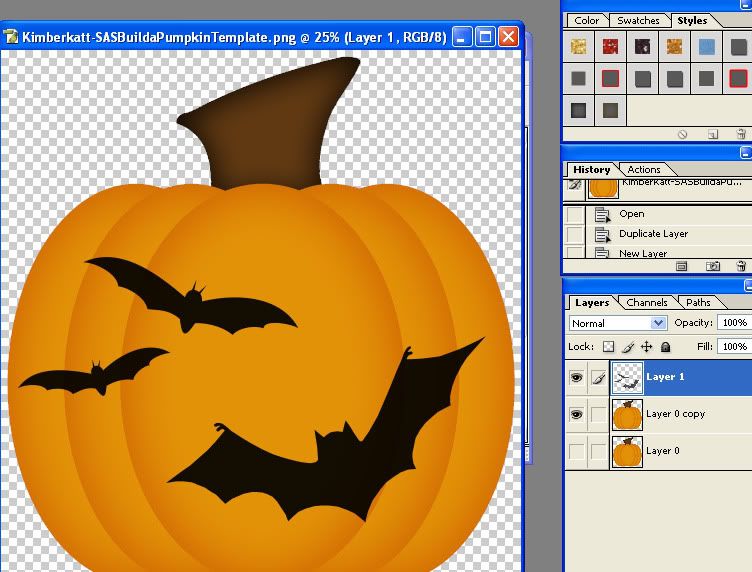
Draw the pattern you want to cut out of your pumpkin on the new layer. anything you color in now will be "cut" from your pumpkin later. Go wild! But try to stay away from designs that are too fiddly, they are going to give you a hard time later :-)

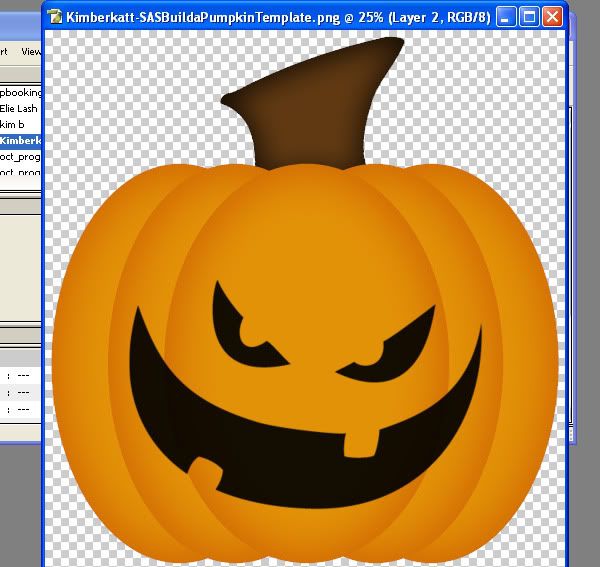
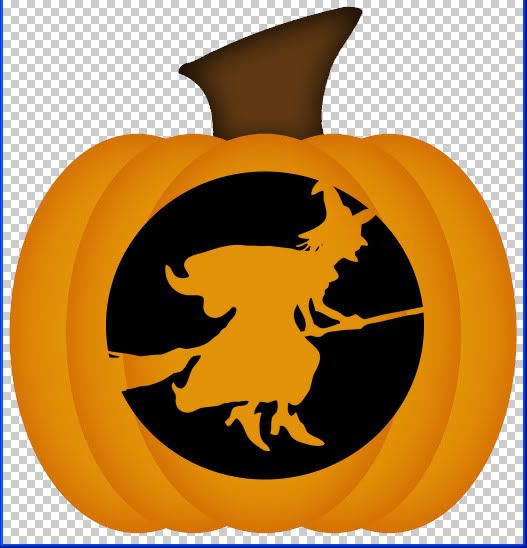
Here are some examples:

<-- Bats, fairly easy, I'm going to stick with this design for the tutorial.


Step three: Carving the Pumpkin

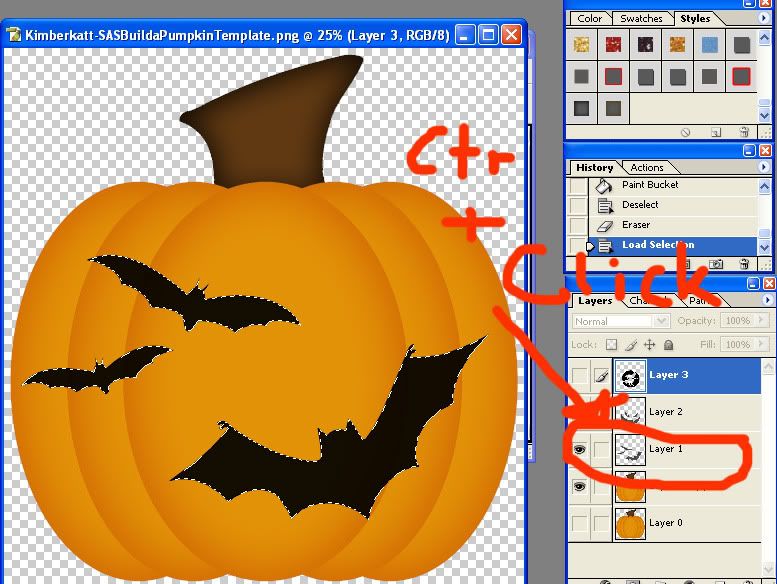
ctrl + Click the layer you just drew on in your layers palette. You should see "marching ants" around your design to show that it has been selected.


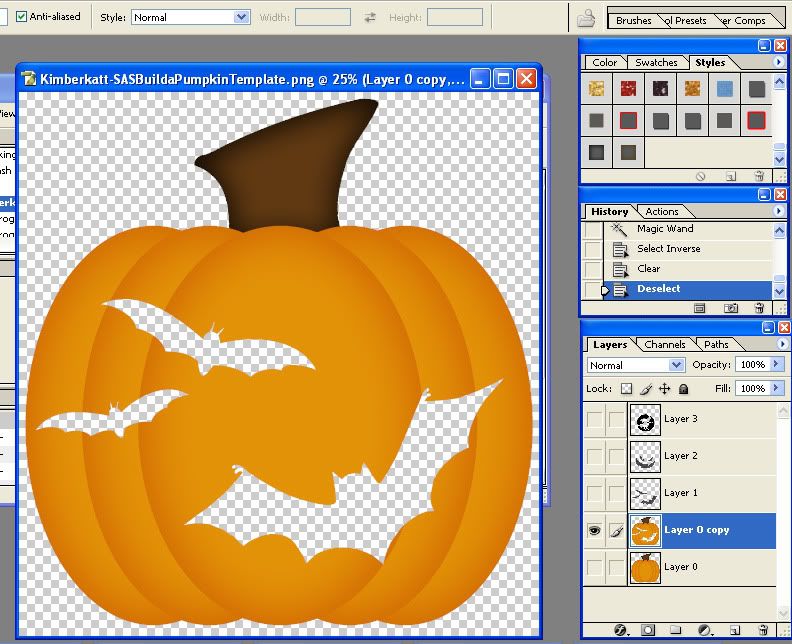
select the VISIBLE pumpkin layer and press delete on your keyboard. This will delete the selcted part from your pumpkin. Make the "drawing"- layer invisible (click the little eye) to view your pumpkin.


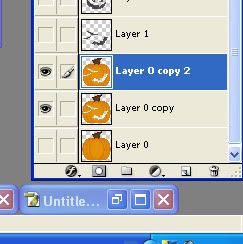
If you are happy with your result, copy the layer again


Step four: Putting things into perspective

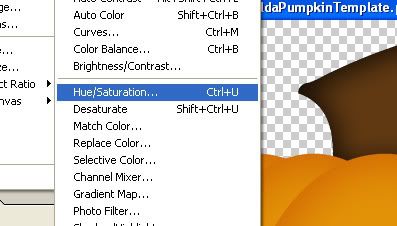
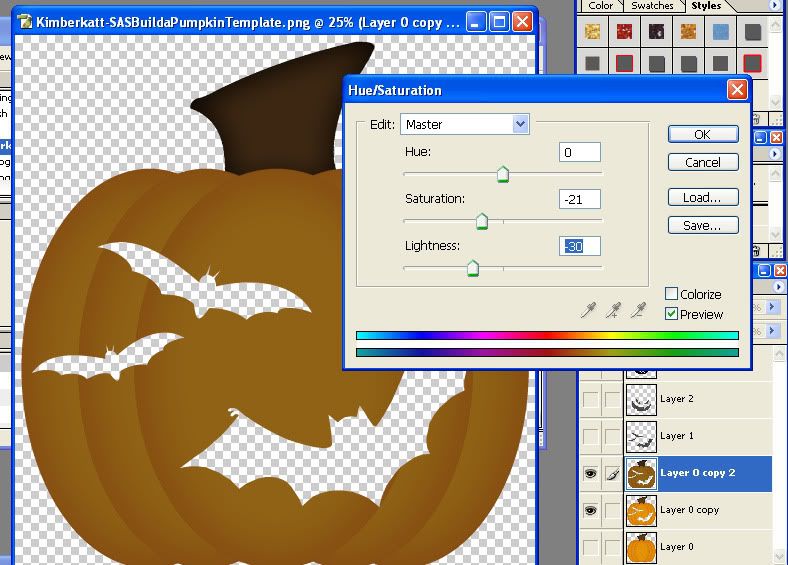
Click the "image... " tab, go to "Adjustments" and select "Hue/Saturation"


use the "saturation" and "Lightness" sliders to chnge the pumpkins color until it looks like a pumpkin in the dark,


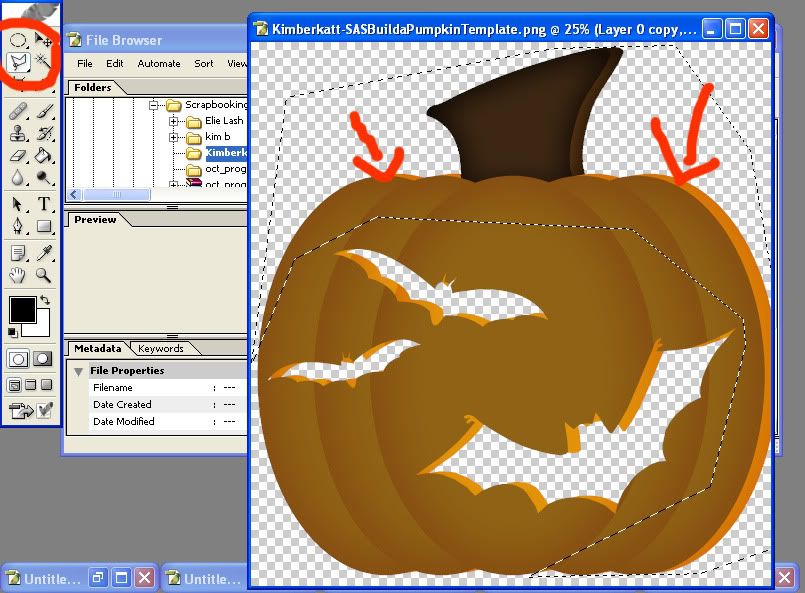
Move the lower Pumpkin a little bit up and to one side to give the whole thing the feel of a little bit of perspective. Use the polygonal lasso tool to get rid of the parts that are peeking out uinder the top pumpkin.


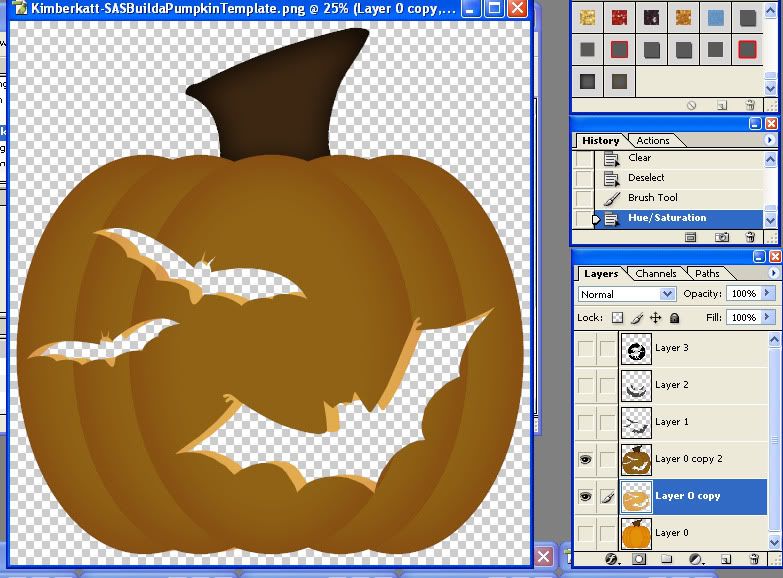
Use "Hue/Saturation" to lighten the lower pumpkin a bit.


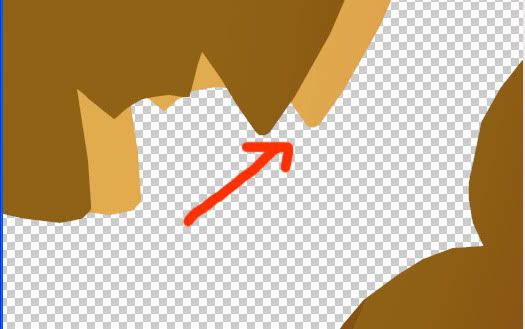
Now you have a couple of places where you get "holes" like this. Use a brush to make it look like this. If your drawing is frilly, thats a lot of work...


Step five: Illuminating the pumpkin

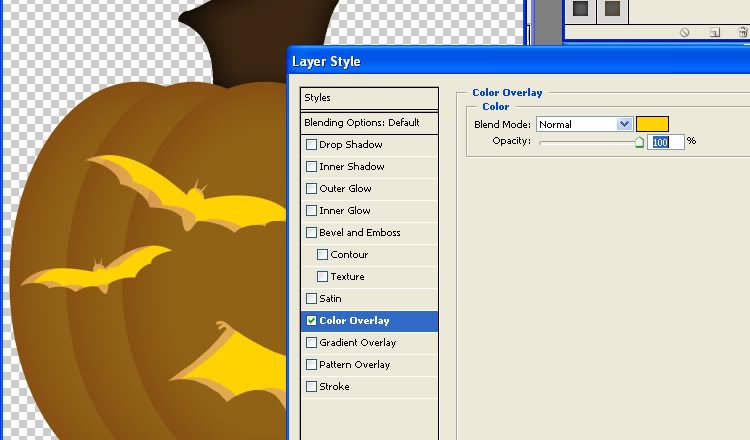
turn on the lowest pumpkin level again. double clck its thumbnail in the layers palette and select "color overlay" Turn the color to a bright yellow


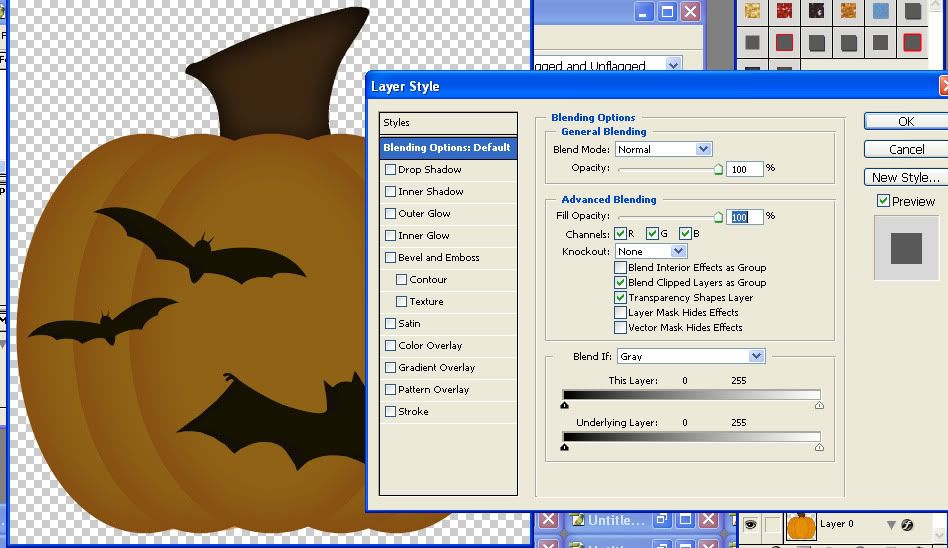
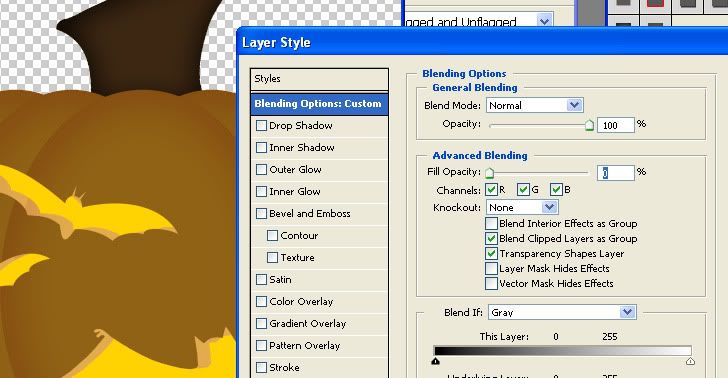
turn your drawing layer back on and double click it.


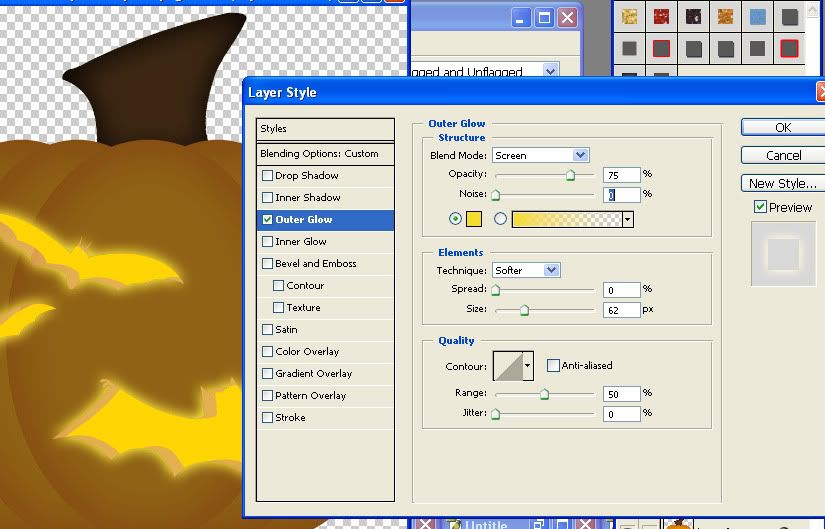
Reduce the "fill opacity" to zero


And add an "outer glow". Play around until you like the effect, this are the settings that worked for me :-)


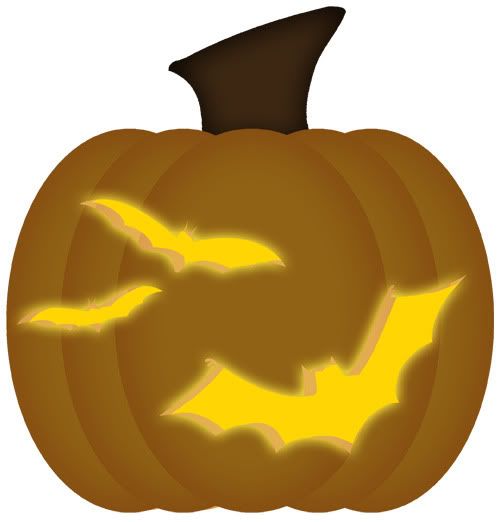
You're done! congrats! My finished pumpkin looks like this - I would love to see the pumpkins you come up with!

So, you have been really patient if you made it to this point! I am new on facebook, but I will have a "fan" page soon - meanwhile, if I could know you from any forum or anywhere else, feel free to add me as a friend or join the SAS group there to get the newest news about my designs - and maybe a freebie once in a while :-)

My to-do list is getting shorter at the moment, not longer - a very good thing! I might actually find time to promote my new kit! Don't foregt to pick it up!

And I promised a freebie, right?

Here are the pumpkins I made for this tutorial:

You can pick them up here:

http://www.mediafire.com/?i0w4uzkmhze