Hello there,
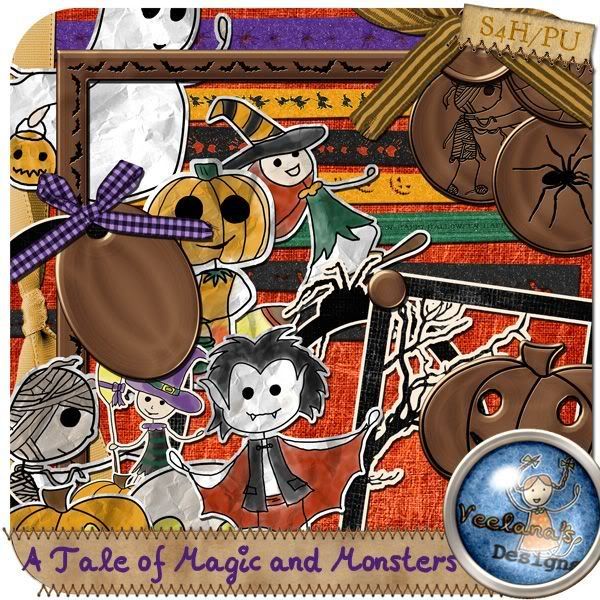
I got tons of news for you! My new kit has hit the store - its my Halloween kit and it's called "A tale of Magic and Monsters" Its has been quality checked at Stone Accent Studios and you can get it there for 25% off at the moment. It is at scrapbird already - THAT was quick! Thank you, Marzena!
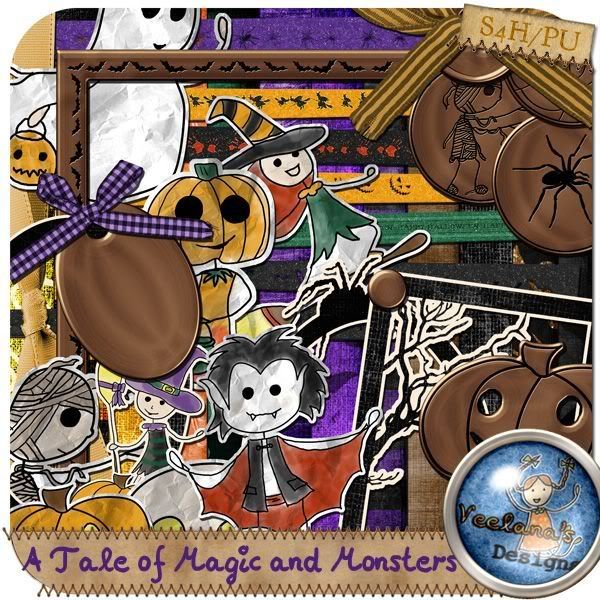
You can get it here --> "A Tale of Magic and monsters" hurry! it goes back to regular price after halloween!
Its a fun kit, full of not-so-scary doodlemonsters, in classical halloween colors.
The SAS Halloween Bash is ON! You can still take part in almost everything - pumpkin decorating, progressive scrap and an avatar dress up contest! I can't believe that I've never done a progressive scrap before! This is soooo much fun - You get a few pieces to scrap with every day and you can't go back to change anything!
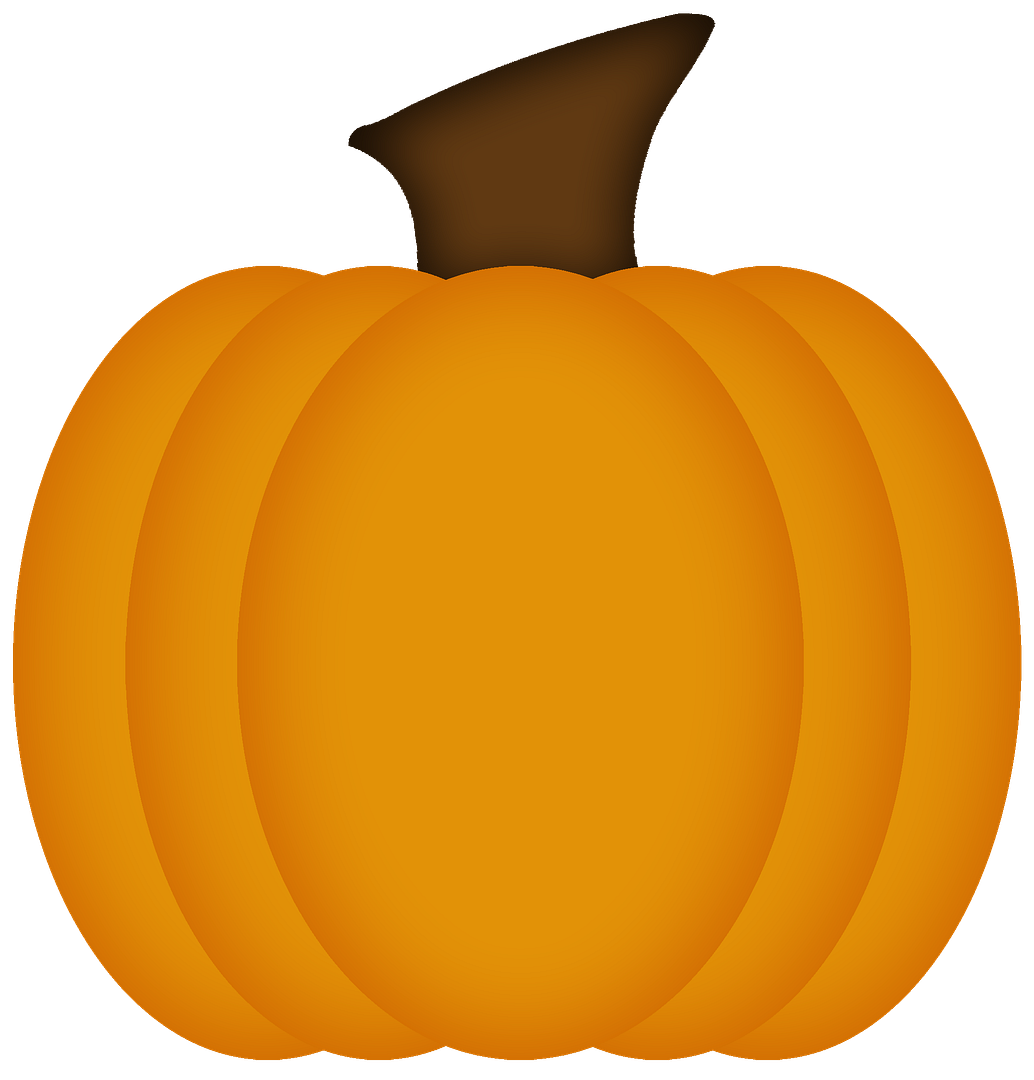 You get a cool pumpkin template from Kimberkatt that you can dress up. I had so much fun with the virtual pumpkin carving that I decided to share the fun and provide you with a tutorial. If you want to carve a pumpkin, feel free to download this one. Just click the picture to be taken to the full size version, right click and choose "save picture as..."
I also use some of bsilva's fantastic brushes - you can use anything you want, though :-) you can always click on the pictures to view the full size picture if you need it.
So, here it is:
Virtual Pumpkin Carving 101 in photoshop
Step one: Preparing the pumpkin

Open your pumpkin in photoshop - I'm sure it will work VERY similar if you use a different program :-)

On your "Layers" tab, choose "duplicate Layer". Name it anything you want to, it doesn't matter at all :-)

Make the lower of the layers invisible by clicking the little eye and make a new layer on top of the two lpumpkin layers.
Step two: the pattern

Draw the pattern you want to cut out of your pumpkin on the new layer. anything you color in now will be "cut" from your pumpkin later. Go wild! But try to stay away from designs that are too fiddly, they are going to give you a hard time later :-)
Here are some examples:
<-- Bats, fairly easy, I'm going to stick with this design for the tutorial.


Step three: Carving the Pumpkin

ctrl + Click the layer you just drew on in your layers palette. You should see "marching ants" around your design to show that it has been selected.

select the VISIBLE pumpkin layer and press delete on your keyboard. This will delete the selcted part from your pumpkin. Make the "drawing"- layer invisible (click the little eye) to view your pumpkin.
 If you are happy with your result, copy the layer again
Step four: Putting things into perspective

Click the "image... " tab, go to "Adjustments" and select "Hue/Saturation"

use the "saturation" and "Lightness" sliders to chnge the pumpkins color until it looks like a pumpkin in the dark,

Move the lower Pumpkin a little bit up and to one side to give the whole thing the feel of a little bit of perspective. Use the polygonal lasso tool to get rid of the parts that are peeking out uinder the top pumpkin.

Use "Hue/Saturation" to lighten the lower pumpkin a bit.
Now you have a couple of places where you get "holes" like this. Use a brush to make it look like this. If your drawing is frilly, thats a lot of work...


Step five: Illuminating the pumpkin

turn on the lowest pumpkin level again. double clck its thumbnail in the layers palette and select "color overlay" Turn the color to a bright yellow


turn your drawing layer back on and double click it.

Reduce the "fill opacity" to zero

And add an "outer glow". Play around until you like the effect, this are the settings that worked for me :-)
You're done! congrats! My finished pumpkin looks like this - I would love to see the pumpkins you come up with!

So, you have been really patient if you made it to this point! I am new on facebook, but I will have a "fan" page soon - meanwhile, if I could know you from any forum or anywhere else, feel free to add me as a friend or join the SAS group there to get the newest news about my designs - and maybe a freebie once in a while :-)
My to-do list is getting shorter at the moment, not longer - a very good thing! I might actually find time to promote my new kit! Don't foregt to pick it up!
And I promised a freebie, right?
Here are the pumpkins I made for this tutorial:

You can pick them up here:
http://www.mediafire.com/?i0w4uzkmhze

 heck out these fantastic pages my CT made!


